 Art
Art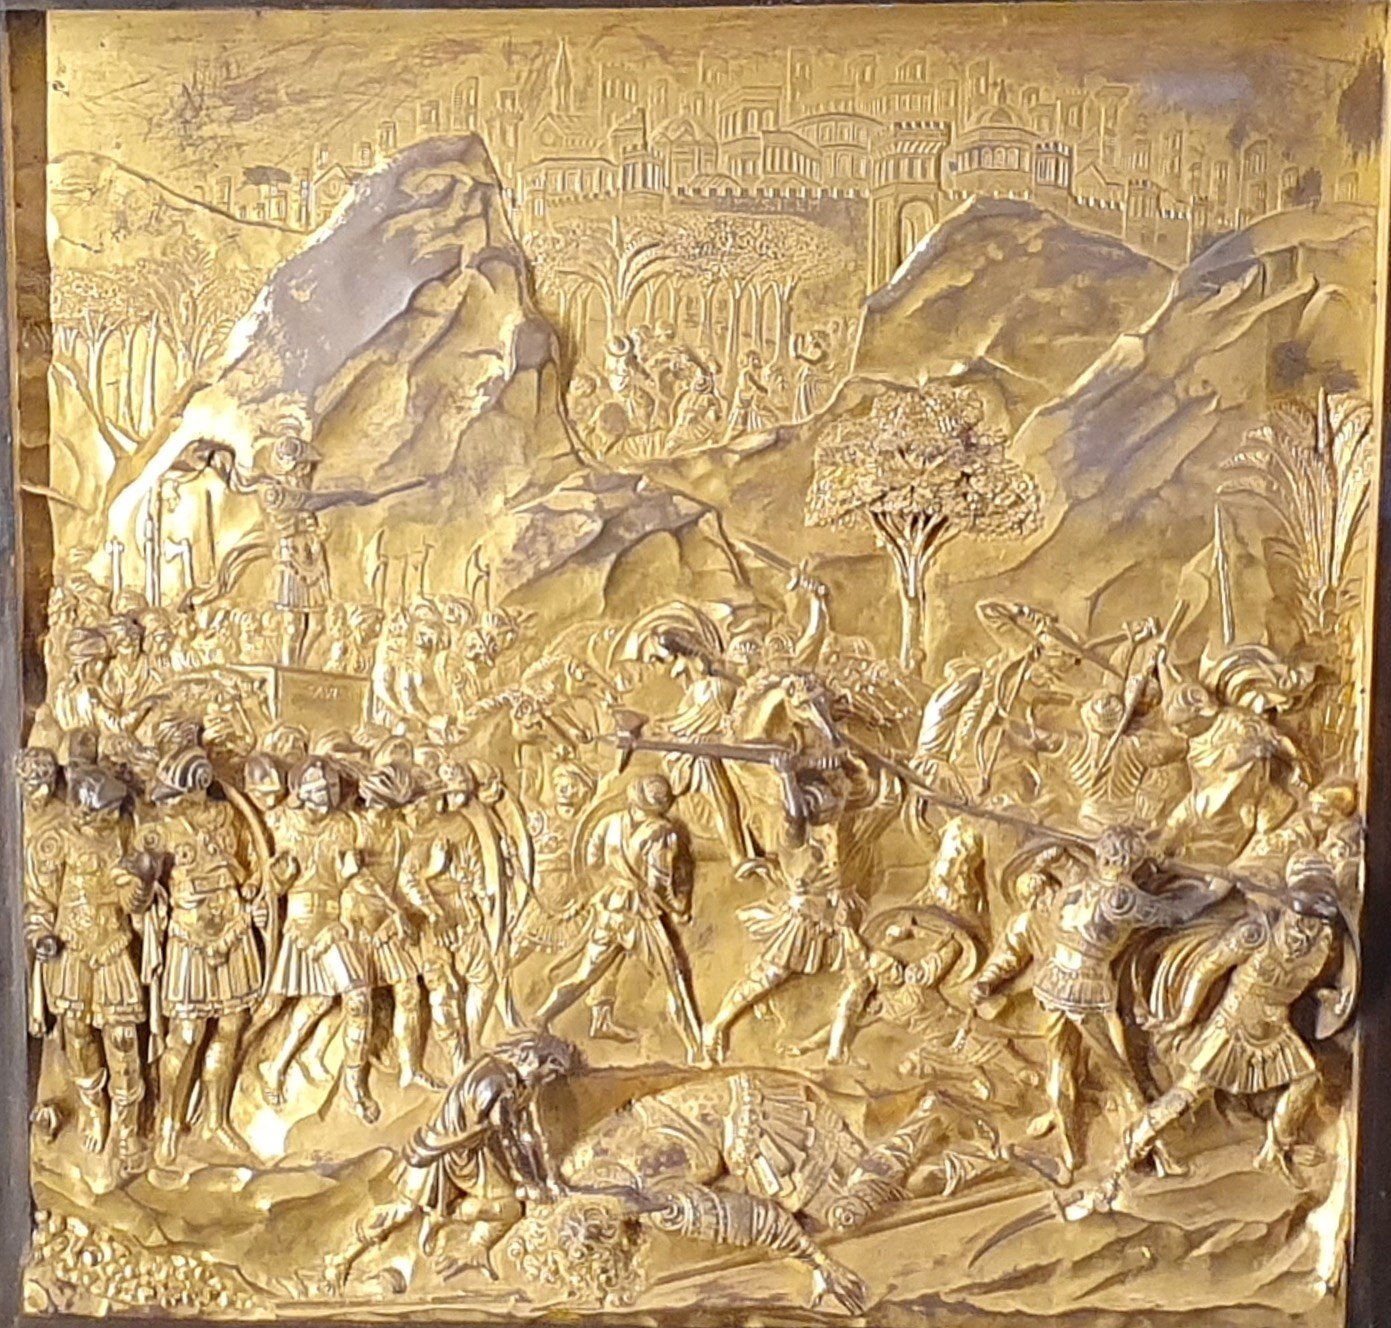
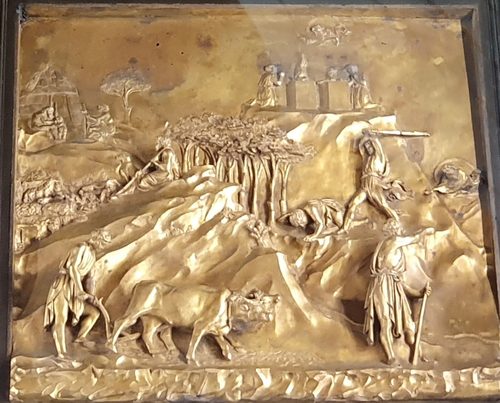
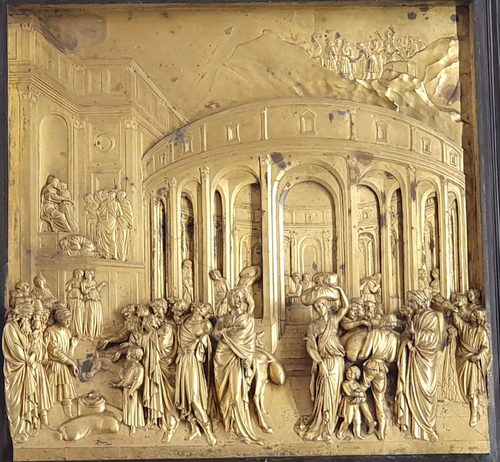
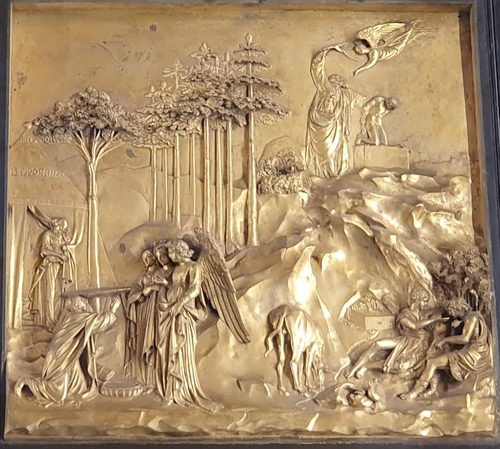
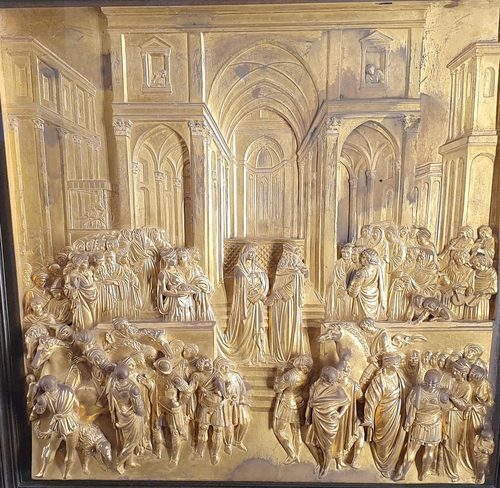
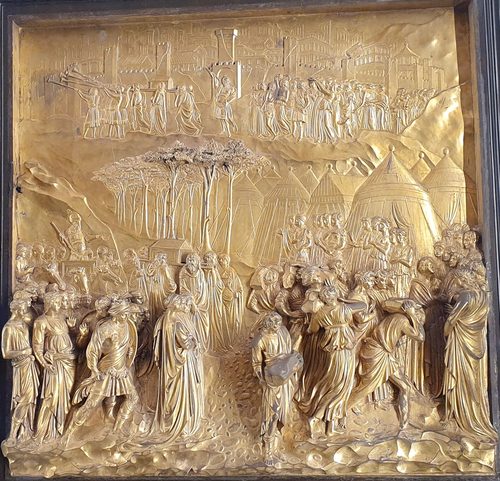
Relief carving is a sculpture technique that cuts figures or a scene into a flat panel of stone, wood, or plaster so they project from the background while staying physically attached to it — a hybrid between drawing and full sculpture in the round. Carvers remove material around the design, leaving the image raised, or in sunk relief cut inward, from the surrounding surface, then model the projecting forms with the same rounding and foreshortening used in freestanding sculpture. The technique lets artists tell a continuous narrative across a wall, frieze, door, or coin face without the structural and material demands of a fully three-dimensional figure. Depth varies by name and effect: low relief keeps forms close to the surface for a subtle, shadowed read, while high relief pushes forms nearly free of the background for a more dramatic, sculptural presence. Architects and builders favor relief for its ability to decorate a structural surface without adding weight or fragile projecting parts.
How to spot it
- 01Figures that cast shadows onto a flat background instead of standing free of it.
- 02Foreshortened limbs and faces compressed to fit a shallow carved depth.
- 03A continuous horizontal band or frieze telling a sequential story.
- 04Forms that read fully three-dimensional from the front but are flat or absent from behind.
- 05Deeper undercutting and near-detached limbs in high relief versus a shallow, graphic read in low relief.
The Relief Carving workshop card
Weeks per panel; years to carve fluently.Materials
- stone block (marble, limestone) or hardwood panel
- chisels and gouges of varying widths
- carving mallet
- rasps and rifflers for shaping
- calipers or pointing tools for transferring a model
- sandpaper or polishing abrasives
- clay or wax maquette for planning
Steps
- 1
Plan the composition
Sketch or model the scene first, deciding what stays close to the surface and what needs to project further forward, since relief depth has to be planned before any material comes off.
- 2
Transfer the design
Draw or trace the composition directly onto the panel's face, or use a pointing machine to transfer measurements from a clay model at consistent scale.
- 3
Remove the background
Carve away the surrounding material first, establishing the ground plane the figures will rise from and setting the maximum depth available to the whole relief before any modeling begins.
- 4
Rough out the forms
Block in the major shapes at their intended projection, working from the highest points down so nothing gets carved deeper than the final design allows.
- 5
Model with foreshortening
Round and undercut the forms to suggest full volume within a shallow depth, exaggerating angles and compressing overlaps so the eye reads them as three-dimensional.
- 6
Undercut for shadow
Angle chisel cuts slightly beneath edges so they catch shadow and separate visually from the background, sharpening the sense of depth without adding real thickness.
- 7
Refine and finish the surface
Smooth, texture, or polish the surface as the design calls for, keeping the background flat and consistent so it reads clearly behind the carved forms.
Classic mistakes
Carving background too deep, too soon
Removing too much background early leaves no room to adjust the relief's depth later; go shallow first and deepen gradually as the design firms up.
Ignoring foreshortening
Carving figures at their true proportions instead of compressed ones makes overlapping forms look flat and confused instead of convincingly three-dimensional.
Forgetting the viewing angle
Relief is usually seen from below or at a distance; carving detail meant for close inspection can disappear entirely once the piece is installed.
Skipping dust protection
Stone and wood carving throws fine dust into the air; wear a dust mask or respirator, especially when sanding or using power tools.
Where it comes from
Relief carving is one of the oldest ways to decorate architecture, used on Egyptian temple walls, Mesopotamian palace friezes, and Greek temple pediments and metopes to narrate myth and history across public buildings. Roman sculptors developed continuous narrative relief on triumphal columns and sarcophagi, compressing long stories into spiraling or stacked bands. Medieval and Renaissance workshops carried the technique into church portals and baptistery doors, where competitions over relief commissions became landmark events in art history. High relief reached a dramatic peak in Baroque architecture and monuments, while low relief remained the standard for coins, medals, and decorative friezes into the modern era. The technique remains a default choice anywhere a flat structural surface calls for pictorial decoration.
See it done perfectly
| Work | Maker | Date | What to look at |
|---|---|---|---|
| Gates of Paradise | Lorenzo Ghiberti | 1425–1452 | Gilded bronze doors combining low and high relief with dramatic linear perspective. |
| Parthenon Frieze | Unknown | c. 447–432 BCE | A continuous low-relief procession carved around the temple's inner chamber. |
| Column of Trajan | Unknown | completed 113 CE | A spiraling low-relief narrative band wrapping the column from base to top. |
| Ara Pacis | Unknown | 13–9 BCE | Roman altar reliefs blending idealized figures with detailed processional portraiture. |
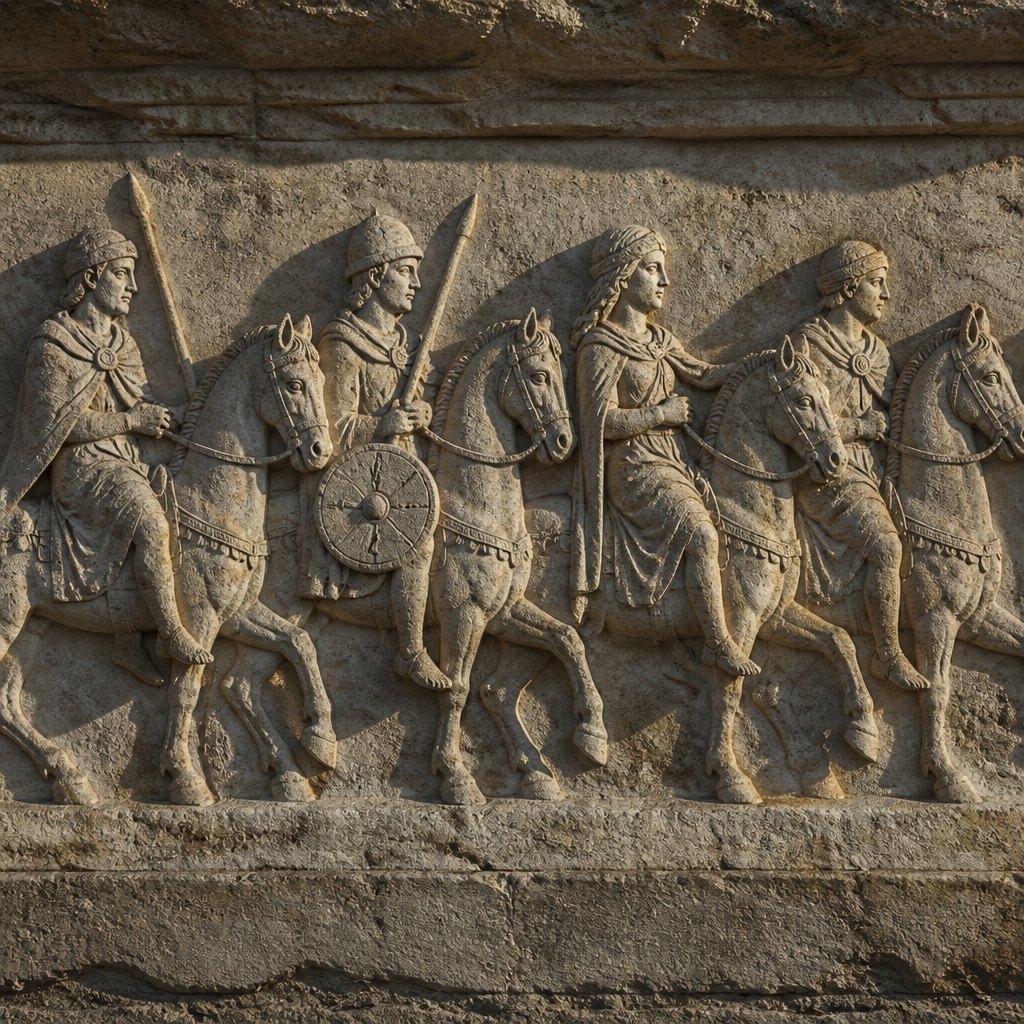 AI-generated
Try it with AI
Get the Relief Carving look in a generator
Ask for 'relief carving' or 'bas-relief panel' and specify the depth: low relief for shallow, graphic forms barely leaving a flat background, high relief for deeply undercut figures nearly free of the surface. Material words matter — carved limestone, carved oak panel, cast bronze relief — each changes texture and shadow. Raking side lighting is essential: it catches the carved edges and throws shadows that make the depth readable, so specify strong directional light rather than flat frontal light. Mention a continuous narrative band or architectural frieze for classical-feeling compositions.
Frequently asked questions
What is relief carving?
Relief carving is a sculpture technique where figures or a scene are carved into a flat panel so they project from the background while staying physically attached to it, unlike a freestanding sculpture that stands fully in the round.
What's the difference between low relief and high relief?
Low relief keeps carved forms shallow and close to the background for a subtle, graphic effect; high relief undercuts forms deeply, pushing them nearly free of the surface for a bolder, more sculptural presence.
Can beginners try relief carving?
Yes, especially in wood or soft stone with basic gouges — simple, shallow low-relief designs are a good starting point before attempting deep undercuts or hard stone.
What tools do you need for relief carving?
A set of chisels and gouges in varying widths, a carving mallet, and rasps for shaping are the core kit; stone carving adds point chisels, while wood carving benefits from V-tools for outlining.