 Art
Art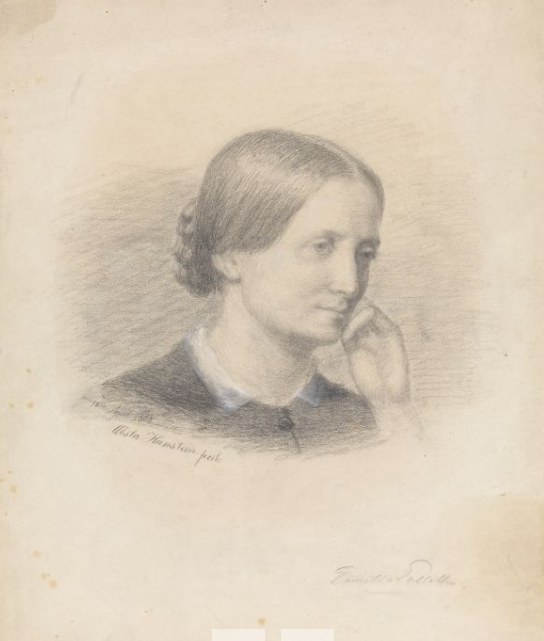
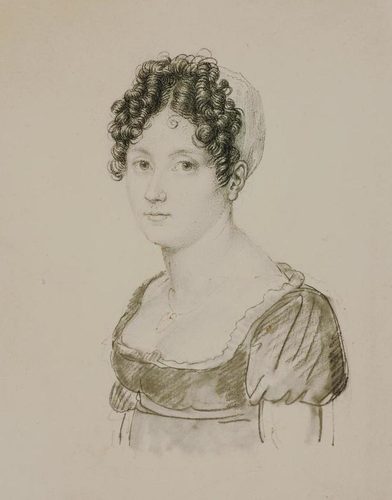
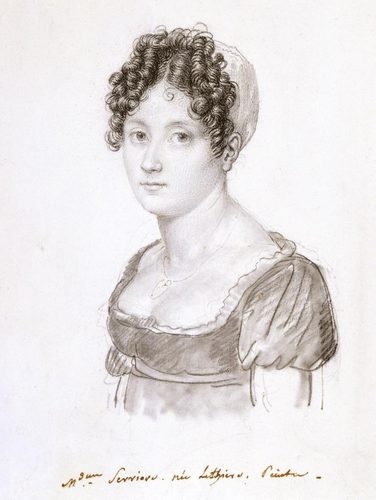
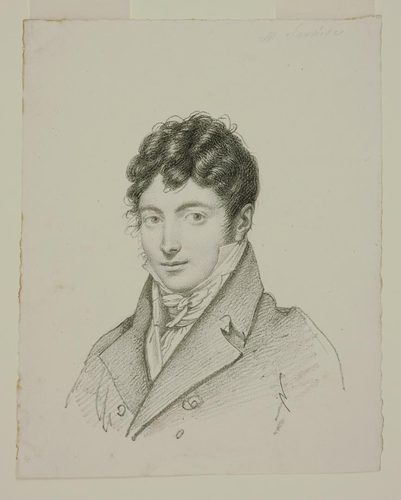
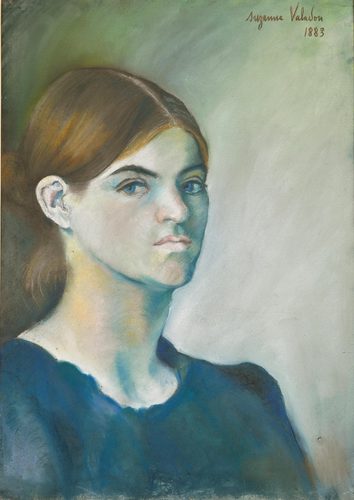
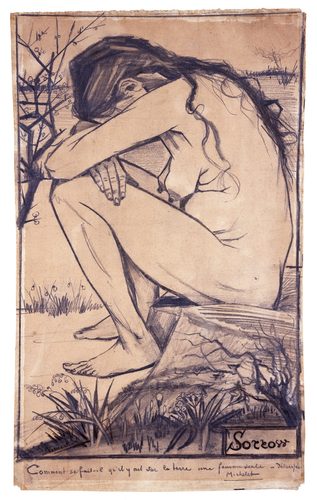
Charcoal drawing is the practice of rendering form and tone with charred wood or compressed carbon sticks instead of ink or paint. Because charcoal particles sit loosely on the paper's tooth, an artist can push pigment on with a stick, smear it into soft gradients with a fingertip or blending stump, then pull it back off again with a kneaded eraser to carve out highlights — a push-pull rhythm no other drawing medium allows so freely.
Artists reach for charcoal when they need to work fast and loose: laying in a life-drawing pose in ninety seconds, blocking a composition before committing to paint, or chasing the specific drama of near-black shadow against bare paper. It runs from bristly vine charcoal (light, dusty, easy to lift) to dense compressed sticks and pencils (dark, waxy, hard to erase), so a single drawing can move from ghostly underdrawing to inky accents without changing medium. Because mistakes are forgiving and materials are cheap, it remains the standard entry point for learning to see value and gesture before color enters the picture.
How to spot it
- 01Velvety near-black shadows that fade to bare paper with no in-between glaze.
- 02Visible smudging and fingerprints softening the edges of a form.
- 03Crisp erased highlights that look lifted out, not painted in.
- 04A dry, matte, slightly dusty surface with no sheen at all.
- 05Loose, gestural underdrawing lines still visible beneath denser tonal blocking.
The Charcoal Drawing workshop card
an afternoon to start, years for controlMaterials
- vine charcoal (soft, dusty, easy to erase)
- compressed charcoal sticks (dense, dark, hard to lift)
- charcoal pencils for crisp detail work
- kneaded eraser for lifting highlights
- blending stump or tortillon
- toned or textured drawing paper
- workable fixative spray
- chamois cloth for broad tonal wipes
Steps
- 1
Block in the big shapes
Start with the side of a broken stick, not the tip, and rough in the largest masses of light and shadow before any detail. Keep the touch loose — this stage is about proportion and value, not lines, and it should be easy to wipe away.
- 2
Establish a value scale
Before working the full drawing, test how dark your charcoal actually goes and how light your eraser can lift, right on a scrap of the same paper. Knowing your real range keeps you from muddying the piece by aiming for effects the materials cannot deliver.
- 3
Layer dark to light
Build shadows first with the broad side of the stick, then switch to a sharpened point or pencil for edges and accents once the big values are set. Working dark-to-light keeps blacks rich instead of gray, since charcoal only gets muddier the more you rework a spot.
- 4
Blend with restraint
A fingertip, chamois, or blending stump smooths charcoal into soft gradients, but every pass also pushes pigment deeper into the paper's tooth, making it harder to erase later. Blend the big transitions only, and leave some strokes untouched to keep the surface alive.
- 5
Pull out the highlights
Shape a kneaded eraser to a point and lift the brightest passages back to bare paper, using it like a drawing tool rather than a correction device. This is where charcoal shows off — light carved directly out of shadow instead of painted on top of it.
- 6
Add sharp accents last
Save the darkest darks and crispest lines for the final pass, using a fresh point or compressed stick only where the eye should land — a highlight, a cast shadow's edge. A few decisive marks read as more confident than uniform density everywhere.
- 7
Fix the finished drawing
Once you're satisfied, spray workable fixative in thin, even coats from a distance, letting each layer dry before adding another. Work in a ventilated space and avoid breathing the mist directly — this locks the charcoal in place so it survives handling and framing.
Classic mistakes
Overblending into mud
Smearing every stroke with a finger erases the crisp darks that give charcoal its punch, leaving a flat gray fog. Leave some marks raw and unblended, and reserve full blending for a few key transitions only.
Skipping fixative
An unfixed drawing sheds pigment every time it's touched, jostled, or stacked with other pages, and highlights can smear into shadows in seconds. Fix in light coats as you go, not only at the very end.
Pressing too hard early
Digging in with a sharp, hard stick from the first mark packs charcoal into the paper's tooth so densely that it can't be lifted or reworked. Start light with a broken edge and build density gradually.
Ignoring the paper's tooth
Smooth paper can't hold much charcoal at all, so drawings on it look thin and patchy no matter how much pigment is applied. Choose paper with enough texture to grip the particles, especially for dense shadow areas.
Working without a value plan
Diving straight into detail before establishing where the darkest darks and lightest lights will sit leads to a drawing that's uniformly medium-gray and lifeless. Rough in the full value range first, then refine within it.
Where it comes from
Charred sticks are among the oldest drawing tools — cave painters used burnt wood for outlines tens of thousands of years ago — but charcoal became a formal studio medium in the Renaissance, when painters used it to transfer and rework large cartoons before committing to fresco or oil. Academies later made it the standard first material for life drawing, prized because errors could be dusted away and reworked endlessly. In the late nineteenth century, artists loosened the medium further, using its smudge and smear to build raw, expressive portraits and figures rather than polished studies. Fixative sprays, developed in the nineteenth century, let finished charcoal work survive handling for the first time, turning what had been a preparatory sketching tool into a finished exhibition medium in its own right.
See it done perfectly
| Work | Maker | Date | What to look at |
|---|---|---|---|
| Self-portraits in charcoal | Käthe Kollwitz | early 1900s | Built through heavy smudging and erasing for raw, unflinching psychological presence. |
| The Noirs (charcoal fantasies) | Odilon Redon | 1870s-1890s | Velvety blacks conjure eyes, spiders, and floating heads from pure charcoal shadow. |
| Late-career charcoal portraits | John Singer Sargent | 1900s-1910s | Society portraits dashed off in a handful of confident, smudged strokes. |
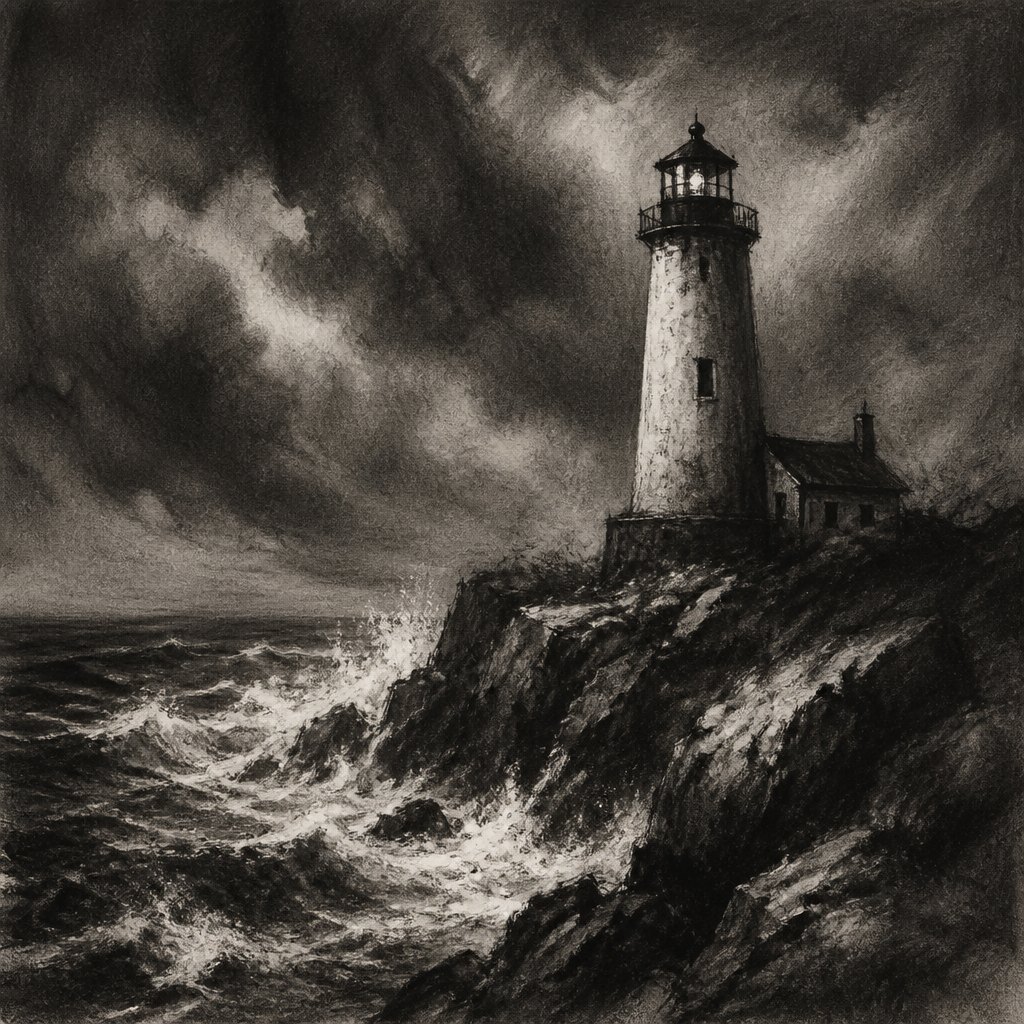 AI-generated
Try it with AI
Get the Charcoal Drawing look in a generator
To evoke charcoal in an AI image generator, lean on texture words like 'charcoal drawing,' 'smudged graphite,' 'chiaroscuro shading,' and 'dry medium on toothy paper.' Describe the tonal range explicitly — 'deep matte blacks fading to bare paper,' 'soft blended gradients,' 'visible fingerprint smudging' — and call out erased highlights: 'crisp lifted highlights,' 'eraser marks carving out light.' Add surface cues like 'grainy paper texture,' 'dusty matte finish,' and 'monochrome grayscale' to avoid a glossy, painted look, and specify loose gestural strokes over tight linework for an authentically hand-drawn feel.
Frequently asked questions
What is charcoal drawing?
Charcoal drawing is a dry medium that uses charred wood or compressed carbon sticks to build tone, applied with pressure and smudging and removed with an eraser to shape highlights — one of the oldest and most direct ways to render form.
Is charcoal drawing hard to learn?
The basics are approachable in a single afternoon — anyone can make a mark and smudge it. What takes years is controlling value, knowing when to blend versus leave marks raw, and building a full tonal range with confidence.
Can charcoal drawings be permanent?
Yes, once sealed with a workable fixative spray in thin, even layers. Unfixed charcoal stays fragile and will smear or shed pigment indefinitely, so framing behind glass or applying fixative is essential for any finished piece.
What's the difference between charcoal and graphite?
Charcoal is softer, darker, and dustier, favoring bold contrast and easy erasing over fine line work. Graphite holds a sharper point and a slight sheen, making it better suited to controlled detail and subtle gradual shading.