 Art
Art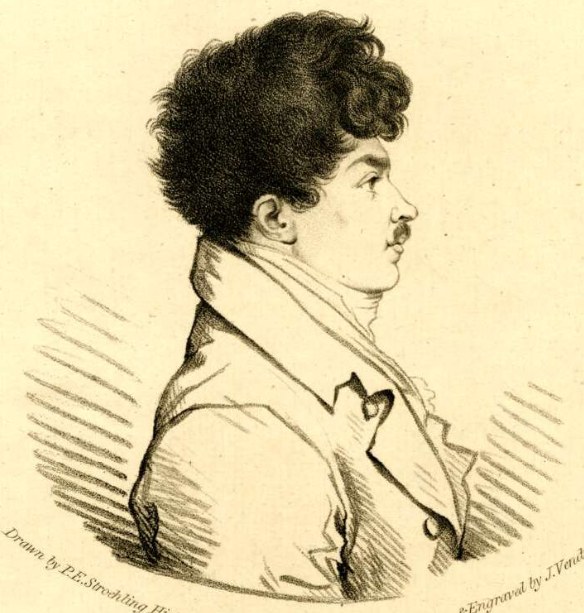
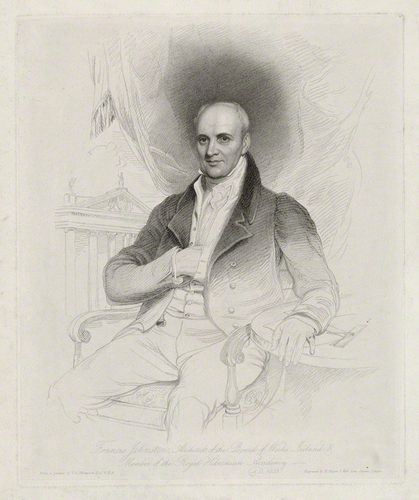
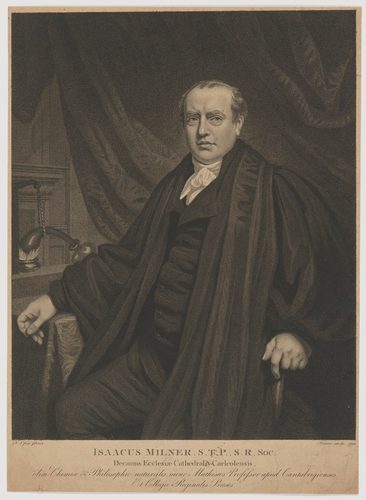
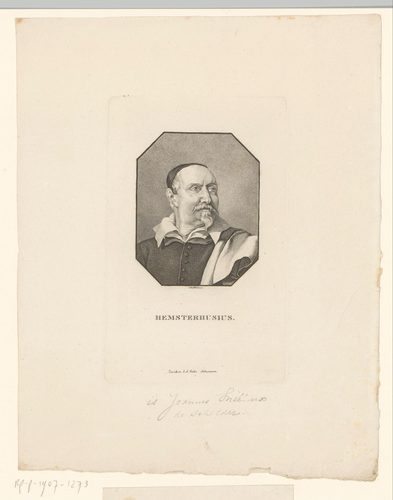
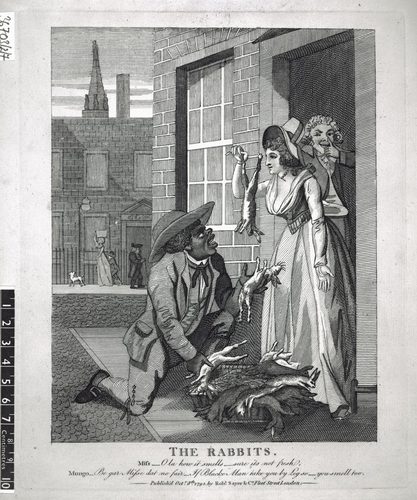
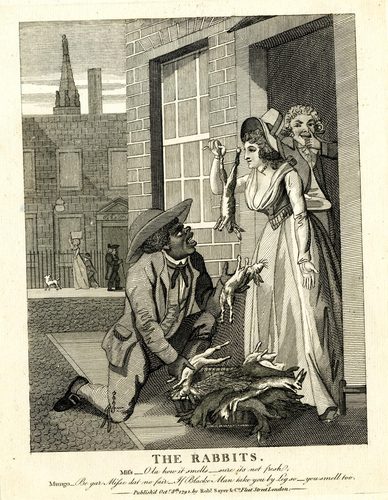
Stippling is a drawing technique that builds tone, shadow, and texture entirely from small dots instead of lines or blended shading. Place dots close together and an area reads as dark; space them apart and it reads as light, the same way a halftone newspaper photo tricks the eye into seeing gray from pure black ink. No line ever appears — every value shift comes from dot density and, sometimes, dot size.
The technique demands patience: a single shaded face can take thousands of individual marks, built up slowly from light areas outward into shadow. That slowness is also its reward, since stippling produces an unmistakably fine, granular texture that no other shading method quite matches — soft at a distance, crystalline up close.
It's a staple of scientific and botanical illustration, where its precision reads as objective fact, and a favorite of pen-and-ink artists chasing a texture that blending simply can't produce.
How to spot it
- 01Shadows made entirely of tiny dots, dense in dark areas and sparse in light ones.
- 02No visible lines anywhere — every value shift comes from dot spacing alone.
- 03A grainy, almost photographic texture that resolves into smooth tone from a distance.
- 04Consistent dot size throughout, with density doing all the tonal work.
- 05Common in scientific and botanical illustration for its precise, objective look.
The Stippling workshop card
patience-heavy: hours for even a small pieceMaterials
- fine-tip technical pens (0.1mm–0.5mm)
- india ink
- smooth, hot-pressed illustration board
- fineliner or micron-style pens in varied widths
- graphite pencil for light preliminary sketching
- magnifying loupe for fine detail work
Steps
- 1
Sketch a light guideline
Block in the form's major shapes and value zones with a faint pencil line you'll stipple over and erase later — this keeps dot placement purposeful instead of random.
- 2
Start in the lightest areas
Place a scattering of widely spaced dots in your lightest values first, since it's far easier to add dots for more darkness than to remove them once inked.
- 3
Build density gradually
Work outward from light toward shadow in slow, overlapping passes, adding dots between existing ones rather than jumping straight to a dense, dark cluster.
- 4
Keep dot size consistent
Use the same pen width throughout a section and let spacing — not dot size — carry the tonal change; mixing sizes reads as texture noise instead of clean gradation.
- 5
Follow the form with density, not direction
Unlike hatching, dots have no direction to bend, so model curved surfaces purely by tightening or loosening dot spacing across the form.
- 6
Push the darkest areas near-solid
Let dots merge into near-continuous black in true shadow and cast-shadow areas — full darkness is allowed and reads as confident, not lazy.
- 7
Step back often
Check the drawing from arm's length regularly; stippling reads very differently up close, where it's all texture, than from a few feet away, where it resolves into tone.
Classic mistakes
Rushing the light values
Skipping straight to heavy dot clusters in midtones leaves no room to build gradual shadow, and the drawing loses its smooth tonal range.
Inconsistent dot pressure
Pressing a fineliner unevenly changes dot size mark to mark, muddying the clean, uniform texture stippling depends on.
Working too fast for the medium
Stippling can't be rushed — dots dropped in a hurry cluster unevenly and leave visible patchy gaps that read as mistakes rather than intentional light.
Outlining instead of stippling edges
Drawing a solid line around a form's edge breaks the pure-dot technique and creates a harsh boundary; let dot density itself define where a shape ends.
Where it comes from
Stippling grew out of engraving, where 18th-century printmakers developed stipple engraving as an alternative to line-based cross-hatching — a plate built entirely from tiny punched or etched dots could reproduce the soft tonal gradation of a chalk or wash drawing far better than hatched lines could. The technique spread into reproductive printmaking for portraits and illustrated books, prized for its delicate, almost powdery finish.
Pen-and-ink stippling carried the idea forward by hand, becoming a favorite of scientific and natural-history illustrators, whose dot-built drawings could render texture and form with a precision that read as neutral, documentary fact rather than an artist's interpretation. That reputation for painstaking objectivity is still why stippling remains the default technique for detailed botanical and entomological illustration today.
See it done perfectly
| Work | Maker | Date | What to look at |
|---|---|---|---|
| A Sunday on La Grande Jatte | Georges Seurat | 1884–1886 | Built almost entirely from small dots of paint; the most famous large-scale demonstration of tone and color made from pure dot density. |
| Stipple-engraved portraits after Cipriani | Francesco Bartolozzi | late 18th century | Popularized stipple engraving in England, using thousands of dots to mimic the soft grain of chalk drawing. |
| Victorian botanical illustration plates | Unknown | 19th century | Scientific illustrators rendered leaf and petal texture in pure stippled dots, prized for precise, documentary detail. |
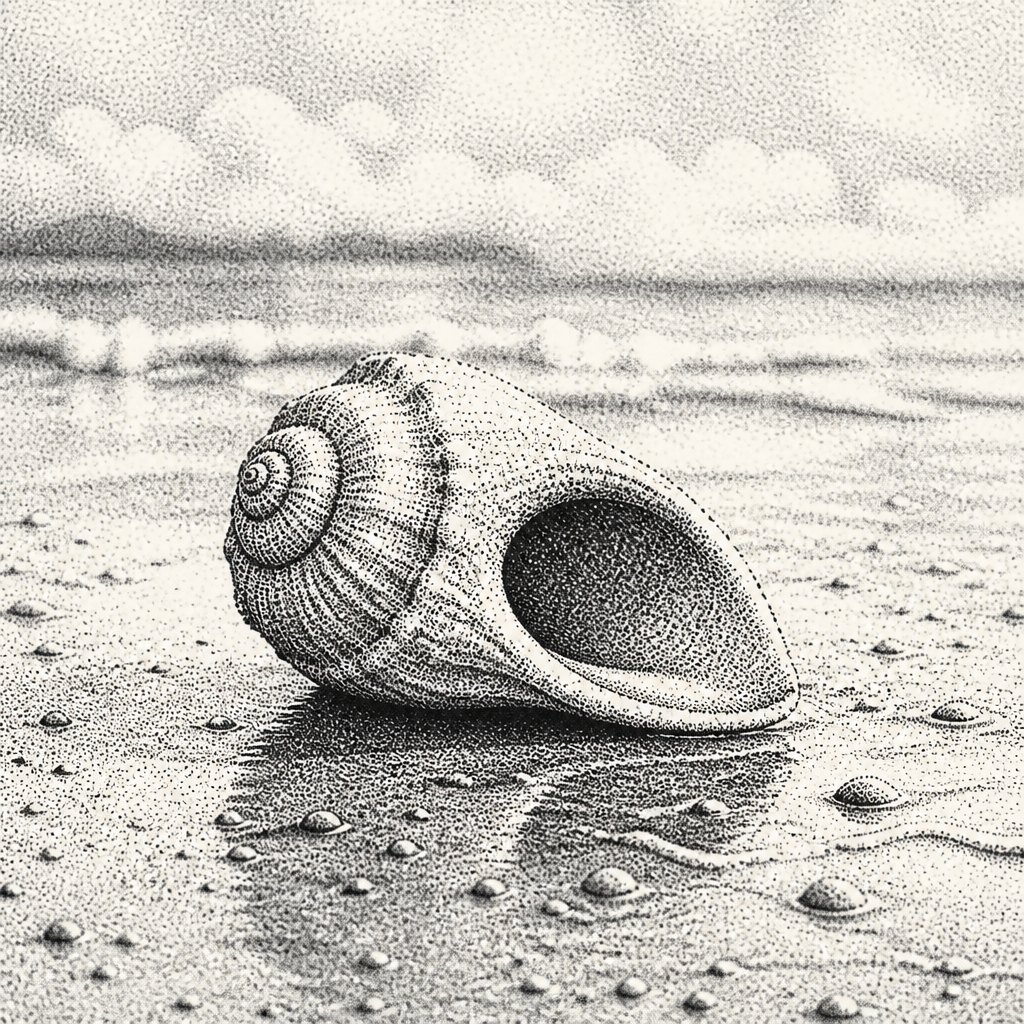 AI-generated
Try it with AI
Get the Stippling look in a generator
To evoke stippling, use phrases like 'stippled ink drawing,' 'pointillist dot shading,' 'pen-and-ink dotwork,' or 'halftone dot texture.' Pair it with a medium cue — 'fine-liner on paper' or 'ink stipple illustration' — so the model favors discrete dots over smooth gradients or lines. Terms like 'dense dot clusters' for shadow and 'sparse scattered dots' for highlight help control the tonal range, and 'grainy,' 'granular texture,' or 'monochrome dotwork' push the render away from painterly blending toward a crisp, dot-built surface.
Frequently asked questions
What is stippling?
Stippling is a drawing technique that builds tone and shadow entirely from small dots — no lines, no smudging. Denser dots read as darker, sparser dots read as lighter.
How is stippling different from hatching?
Hatching and cross-hatching build tone from lines; stippling uses only dots, with density instead of line spacing carrying the tonal change.
How long does a stippled drawing take?
Far longer than line-based shading — a detailed stippled piece can take many hours or even days, since every value shift requires placing individual dots by hand.
Can I stipple with a ballpoint or gel pen?
Yes, though a fine technical pen with a consistent tip width gives more control over dot size, which keeps the tonal transitions smooth.