 Art
Art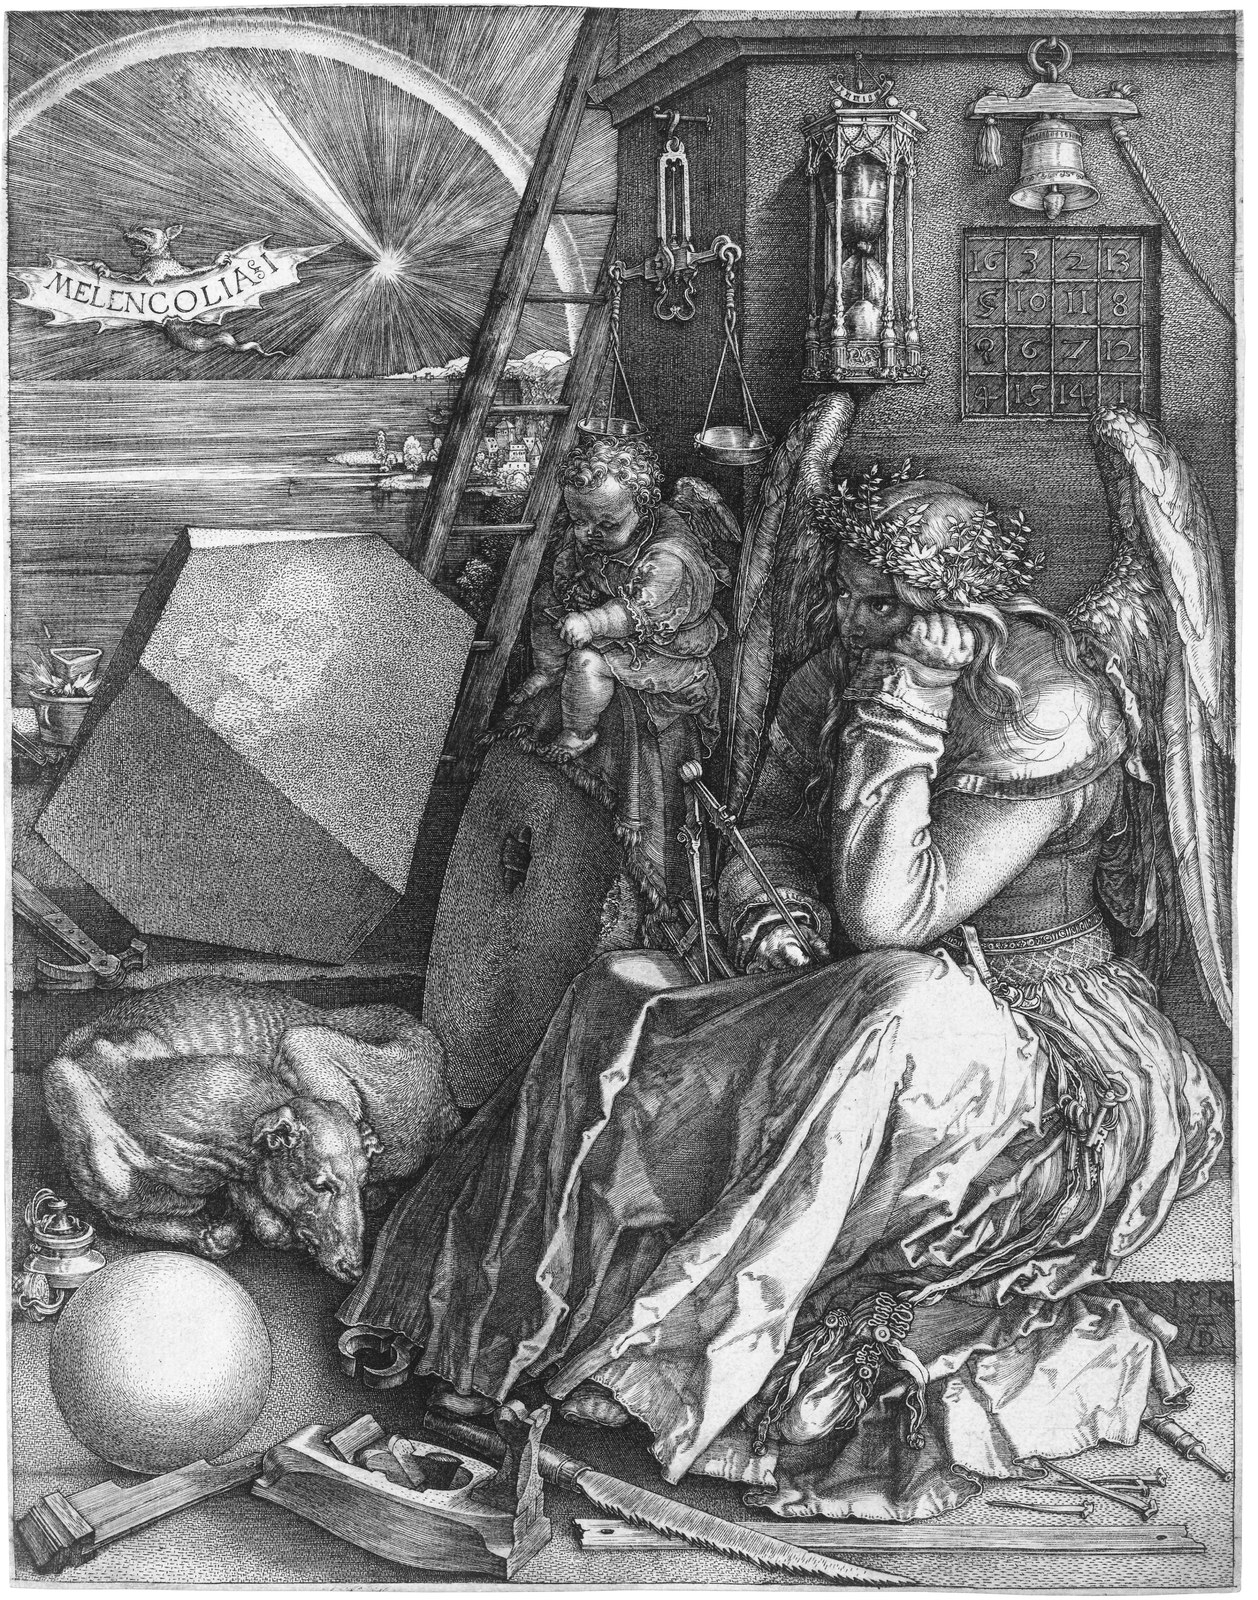
Cross-hatching is a drawing technique that layers two or more sets of parallel lines at different angles over the same area to build deep, dense shadow. Where basic hatching uses one direction of stroke, cross-hatching adds a second pass — often near-perpendicular to the first — so the tiny diamonds of white paper left between the lines shrink and the tone reads darker.
Artists reach for it wherever a single hatched layer can't get dark enough: the underside of a jaw, the interior of a cloak, the black of a shadowed doorway. Because each additional layer of crossing lines compounds the darkness, it gives an artist fine control over a wide tonal range using nothing but line — no smudging, no wash, no blending stump required.
It shows up constantly in pen-and-ink illustration and printmaking, mediums where blending was never an option to begin with, and remains a core skill in any drawing curriculum that teaches tonal control through line alone.
How to spot it
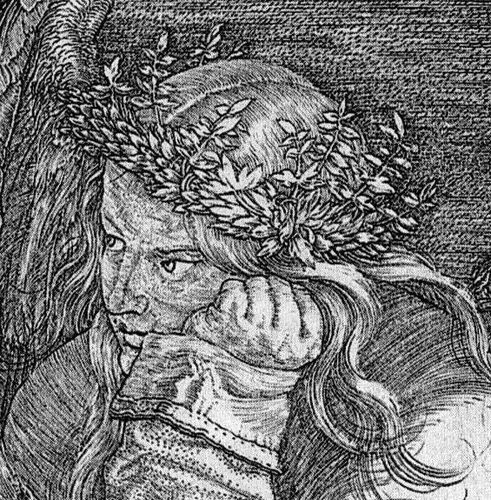
- 01Two or more sets of parallel lines crossing at an angle over the same patch of shadow.
- 02Tiny diamond- or lozenge-shaped flecks of untouched paper visible between the layered lines.
- 03Darkest shadows built from three or four overlapping line passes, not solid black fill.
- 04Crisp, angular texture in shadow areas even where the subject itself is soft.
- 05No smudging or blending — every value change traces back to added or removed lines.
The Cross-Hatching workshop card
a weekend to grasp, years to master controlMaterials
- fine-nib dip pen or technical pen
- graphite pencils, HB through 6B
- smooth or lightly toothed drawing paper
- india ink
- straightedge for controlled crossing angles
- fineliners in multiple tip widths
Steps
- 1
Lay the first hatch layer
Draw one set of evenly spaced parallel lines across the shadow area at a consistent angle — this establishes your lightest shadow value and the baseline spacing for every layer after it.
- 2
Cross at a clear angle
Add a second set of lines at roughly 45 to 90 degrees to the first — a shallow crossing angle reads muddy, while a clear angle keeps the woven texture legible.
- 3
Reserve the darkest layers
Save a third or fourth crossing pass for only the deepest shadows, like a cast shadow or the underside of a form, so your darkest darks stay concentrated and dramatic.
- 4
Keep line weight consistent per pass
Use the same pressure and spacing within a single layer so the crossing pattern reads evenly; vary weight between layers instead, thickening lines only in the darkest zones.
- 5
Curve layers to follow form
Bend both sets of crossing lines to wrap around a rounded surface rather than staying ruler-straight, so the hatching describes volume instead of a flat woven screen.
- 6
Leave the lightest areas untouched
Resist the urge to add a faint hatch everywhere — pure white paper is still your brightest highlight, and adding lines there flattens your whole tonal range.
- 7
Squint to check the pattern
Step back and squint periodically so individual crossing lines blur into a value; catch any layer that reads too dark, too even, or too mechanical before it's overworked.
Classic mistakes
Crossing at too shallow an angle
Lines crossing at 10 or 15 degrees just look like one thick messy hatch rather than a woven texture; keep the crossing angle clear enough to read as two distinct layers.
Scribbling instead of layering
Loose, directionless scribbles read as noise, not shadow; every pass should still be a set of parallel lines, even if the whole area ends up densely layered.
Losing the lightest values
Hatching every inch of a form, even lightly, erases the paper's brightest highlight and collapses the whole tonal range toward gray.
Overworking one small patch
Piling five or six crossing layers into a tiny area produces a muddy black blot instead of a controlled dark; spread the darkening across a larger, considered shape.
Where it comes from
Cross-hatching grew out of engraving and etching, where burins and needles could vary line placement but never smear a mark into softer shadow. Renaissance printmakers layered strokes at crossing angles to reach the deep blacks a single hatched pass couldn't produce, and the technique carried straight into pen-and-ink drawing, where ink behaves the same unblendable way.
It became a hallmark of book illustration and reproductive engraving through the 18th and 19th centuries, when printmakers translated paintings into line for mass publication and needed a tonal range as wide as oil paint's using only crossing strokes. Comic art and editorial illustration kept the technique alive in the 20th century, prizing it for the same reason engravers first did: it reads as rich, structured shadow even at small scale.
See it done perfectly
| Work | Maker | Date | What to look at |
|---|---|---|---|
| Knight, Death and the Devil | Albrecht Dürer | 1513 | Layered engraved cross-hatching produces the print's deepest, most dramatic shadows. |
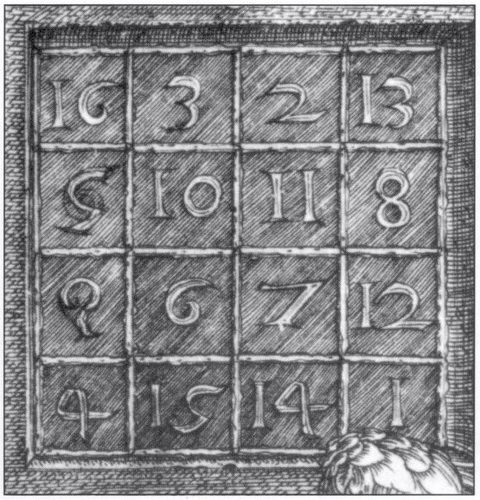
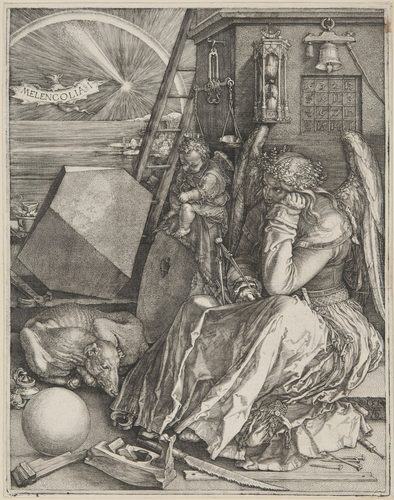
| Melencolia I | Albrecht Dürer | 1514 | Multiple crossing passes model the polyhedron and the winged figure's drapery. |
| The Hundred Guilder Print | Rembrandt van Rijn | c. 1648 | Dense cross-hatched darks push the etching's tonal range far beyond simple line work. |
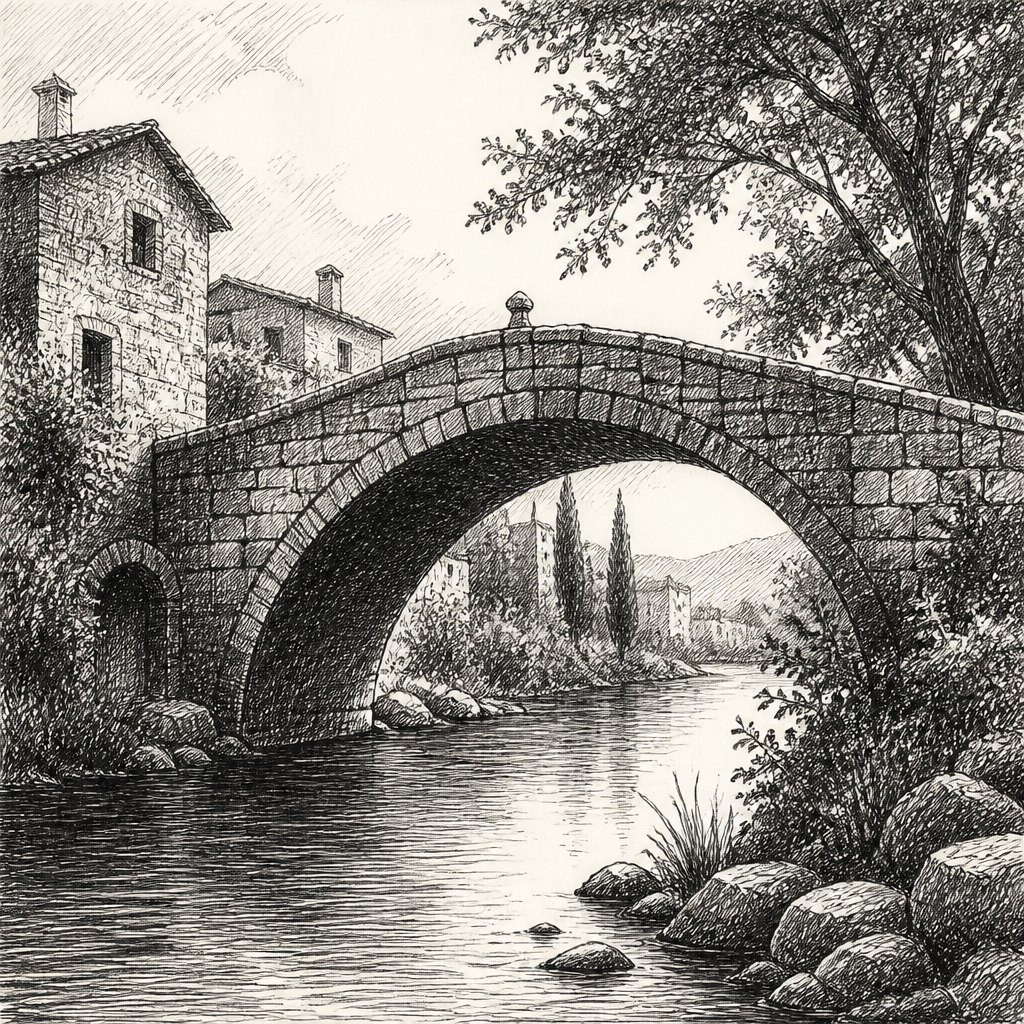 AI-generated
Try it with AI
Get the Cross-Hatching look in a generator
To evoke cross-hatching in an AI image generator, use phrases like 'cross-hatched shading,' 'layered pen-and-ink linework,' 'engraving-style cross-hatching,' or 'woven line shadow.' Anchor it with a medium cue — 'ink on paper,' 'copperplate engraving,' or 'technical pen drawing' — so the model favors crossing strokes over soft gradients. Add 'high contrast,' 'fine linework,' or 'monochrome' to push away from painterly blending, and mention 'dense crossing lines' for the darkest shadows versus 'sparse single-direction hatching' for lighter areas to guide the tonal range.
Frequently asked questions
What is cross-hatching?
Cross-hatching is a drawing technique that layers two or more sets of parallel lines at crossing angles to build deep shadow, using line density instead of blending or smudging.
How is cross-hatching different from hatching?
Hatching uses a single direction of parallel lines; cross-hatching adds a second (or third) layer at a different angle over the same area for darker, denser shadow.
What angle should crossing lines be?
Anywhere from about 30 to 90 degrees works — the key is a clear, legible angle between layers so the crossing pattern reads as woven texture rather than a smudged mess.
Can cross-hatching be done digitally?
Yes — most digital drawing apps handle layered line strokes well, and some even include cross-hatch brush presets that automatically vary angle and spacing.