 Art
Art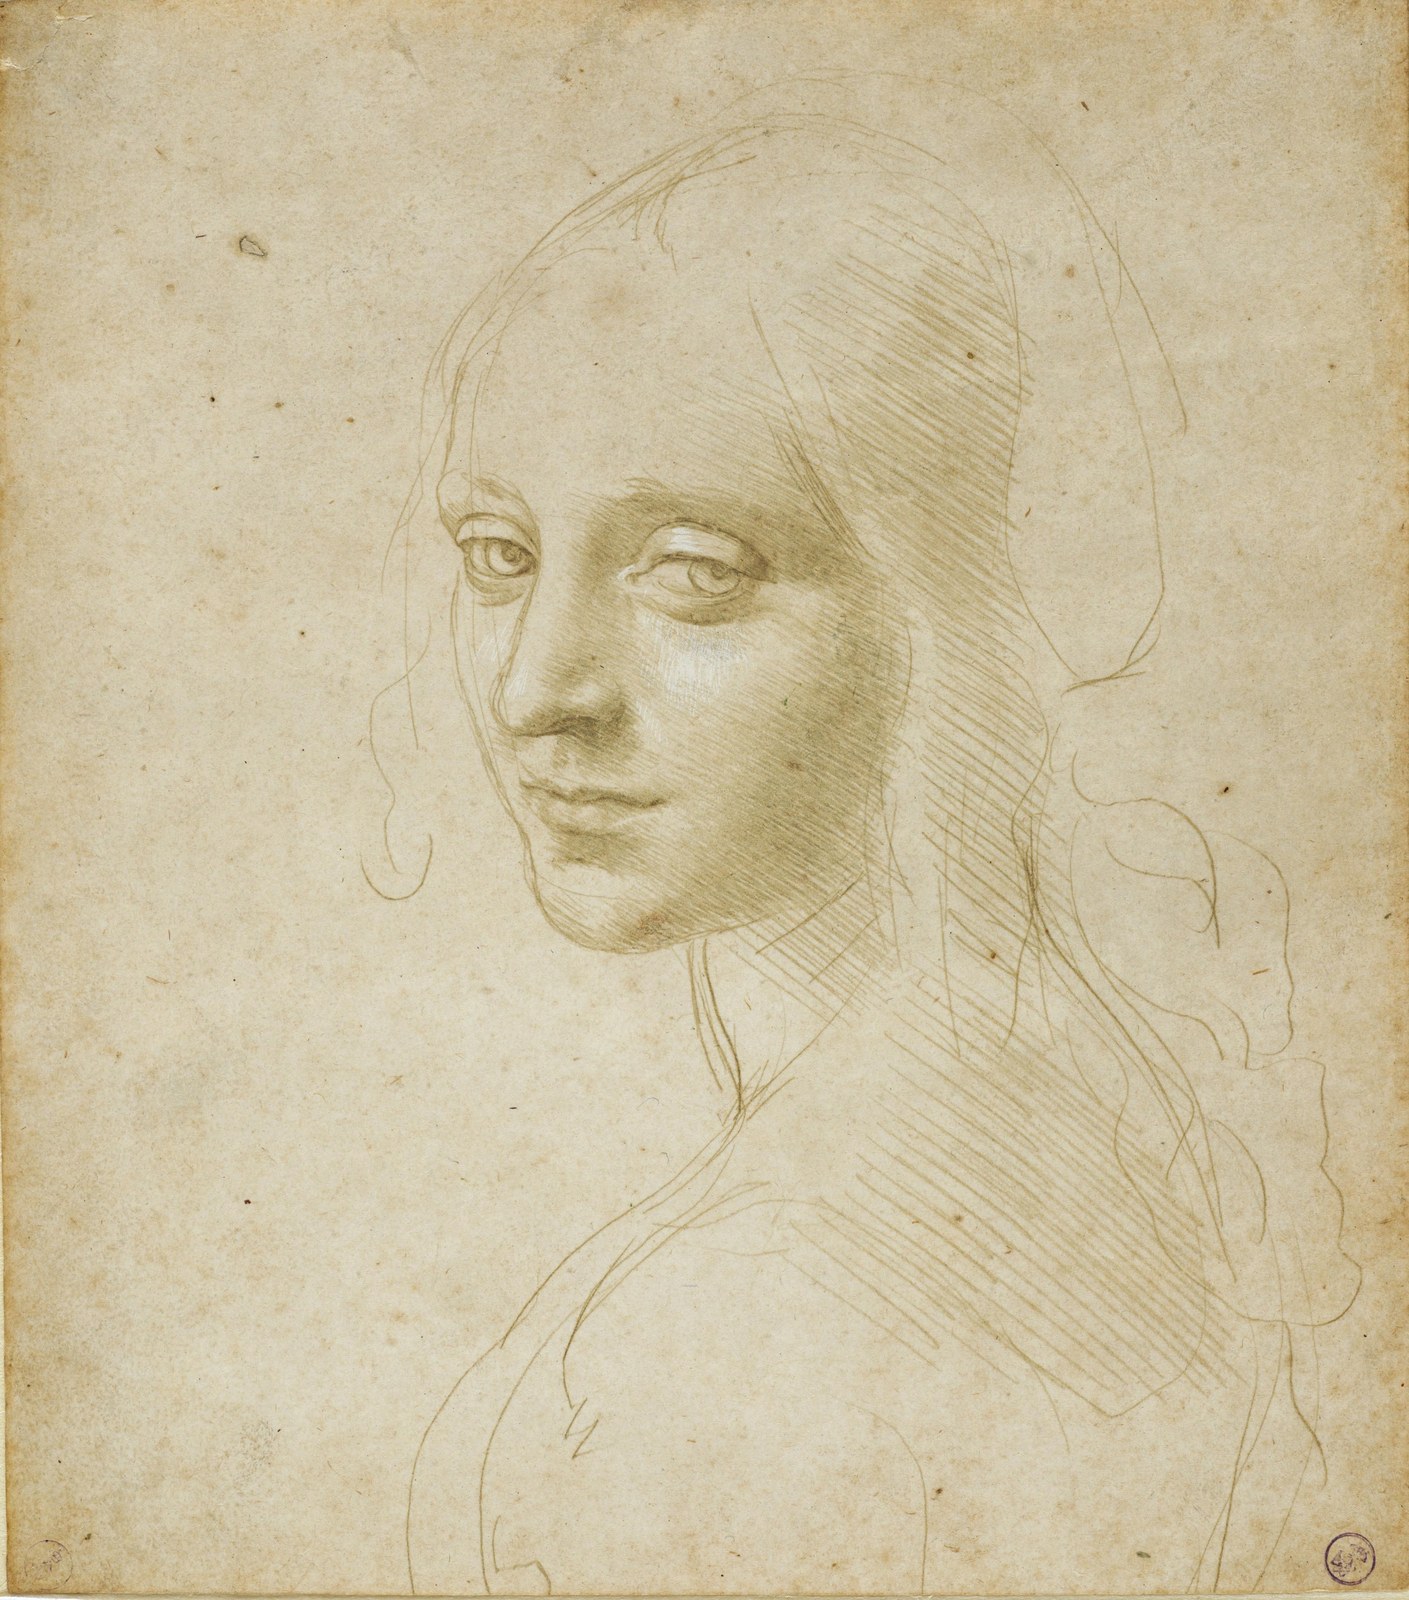
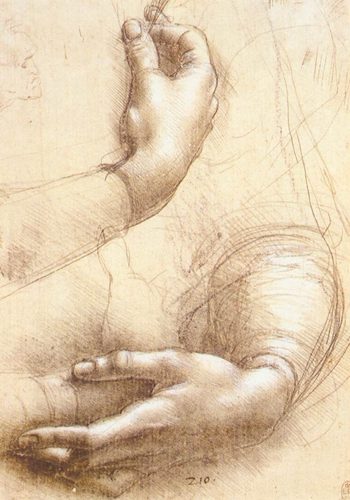
Silverpoint is a drawing technique that uses a thin wire of actual silver, held in a stylus, to mark a paper or panel coated with a fine chalky ground. The metal leaves almost no visible line on ordinary paper — it needs the tooth of a prepared surface to catch and hold a trace of metal — and what it deposits starts out pale silvery gray before slowly tarnishing to a warm brown over months and years as the silver reacts with the air.
Because the ground grabs pigment so lightly, there is no way to erase a silverpoint mark; every line is final, which forces a deliberate, unhurried touch built from patient cross-hatching rather than broad tonal blocking. Renaissance workshops prized it for exactly this discipline — it trains the hand to commit — and for the fine, luminous quality no charcoal or ink line can match. Artists still reach for it today for portrait studies and botanical drawing, where its quiet precision and slow-blooming warmth reward close, patient looking.
How to spot it
- 01A thin, silvery-gray line with no variation in darkness, unlike ink or charcoal.
- 02Warm brown or tan tarnish visible in older silverpoint drawings, especially in shadows.
- 03Dense, patient cross-hatching instead of broad tonal shading or smudged gradients.
- 04A faint pink, gray, or bone-colored tinted ground beneath the drawn lines.
- 05No erased areas, smudges, or corrections — every mark reads as deliberate.
The Silverpoint workshop card
days to prep, years to master controlMaterials
- silver wire stylus (or a dedicated metalpoint tool)
- gesso ground mixed with fine bone ash or titanium white
- hot-press illustration board or a prepared drawing panel
- fine-grit sandpaper for keeping the stylus tip sharp
- soft brush for applying and smoothing the ground
- drafting tape to mask panel edges
- gold or copper wire for a warmer alternative tone
Steps
- 1
Prepare the ground
Mix a fine chalky ground — traditionally bone ash or titanium white bound in a thin glue or acrylic medium — and brush several thin, even coats onto paper or panel, sanding lightly between layers. This tooth is what actually catches the metal; bare paper will barely mark at all.
- 2
Sharpen your stylus
Draw the wire tip across fine sandpaper to keep a clean point, since a dull or burred tip skips and scratches instead of laying an even line. Keep a scrap of prepared ground nearby to test the point before committing to the real drawing.
- 3
Plan before you mark
Because nothing can be erased, rough out your composition lightly in a fast, disposable medium first, or mentally rehearse each line before laying it down. Confidence matters more here than in almost any other drawing technique.
- 4
Build tone with hatching
Since a single silverpoint line barely varies in value, build shadow and volume through layered cross-hatching, varying line spacing and direction rather than pressure. Working density up gradually keeps the drawing luminous instead of muddy.
- 5
Work light to dark, patiently
Start with the lightest, most tentative structural lines and build up density only where shadow demands it, since every added line stays permanently. Silverpoint rewards slow, additive drawing over the fast, correctable habits of charcoal or graphite.
- 6
Let the tarnish develop
Leave the finished drawing exposed to normal air and light rather than sealing it away; the silver will gradually tarnish from cool gray toward warm brown over months and years, deepening the image's contrast on its own.
- 7
Protect the surface
Store or frame the finished piece under glass, since the ground is delicate and any moisture or abrasion can damage or discolor it permanently. Handle by the edges and avoid touching the drawn surface directly.
Classic mistakes
Drawing on bare paper
Silverpoint on unprepared paper leaves almost nothing visible, leading beginners to press harder and harder in frustration, which can tear or burnish the sheet. Always test on properly primed ground first.
Expecting to erase
Treating silverpoint like graphite and expecting to correct mistakes leads to visible, unfixable errors. Every line is permanent, so plan compositions carefully and practice confident, single-pass marks before starting the final drawing.
Pressing too hard
Digging the stylus into the ground to force a darker line instead scratches through the coating, gouging the surface and exposing the paper beneath. Let line density, not pressure, do the work of building tone.
Uneven or lumpy ground
A ground applied too thick, too thin, or unevenly sanded will take metal inconsistently, leaving patchy, unpredictable lines. Apply several thin coats and sand smooth between each one before drawing.
Where it comes from
Metalpoint drawing goes back to medieval scribes marking up manuscript pages, but it became a serious artistic medium in fifteenth-century Europe, when panel painters used it for the precision and permanence needed in preparatory studies. Northern and Italian Renaissance workshops both relied on it heavily: apprentices trained their hand-eye control on silverpoint before ever touching paint, since the medium's total lack of forgiveness demanded confident, economical line work. It fell out of favor from the sixteenth century onward as graphite and natural chalk drawing tools spread, offering similar precision with the freedom to erase. Interest in silverpoint has returned periodically since, among draftspeople drawn to its unique slow tarnish and the discipline of drawing a line exactly once.
See it done perfectly
| Work | Maker | Date | What to look at |
|---|---|---|---|
| Self-Portrait at Thirteen | Albrecht Dürer | 1484 | A precociously confident silverpoint self-portrait made by the artist as a young teenager. |
| Silverpoint studies of horses | Leonardo da Vinci | 1480s-1490s | Detailed studies made while planning an equestrian monument, showcasing metalpoint's fine, luminous modeling. |
| Silverpoint figure studies | Raphael | early 1500s | Preparatory studies for larger paintings, prized for their precise, economical line. |
 AI-generated
Try it with AI
Get the Silverpoint look in a generator
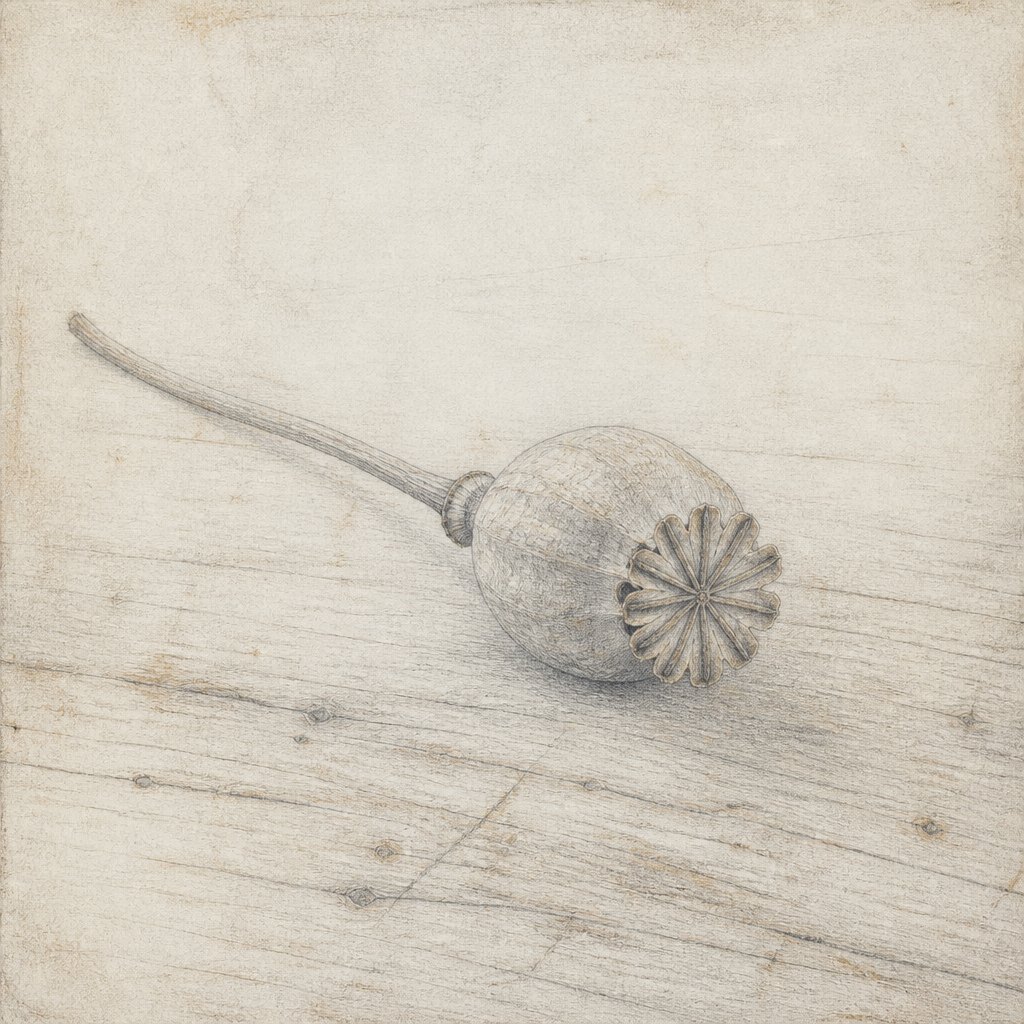
To suggest silverpoint in an AI generator, describe it as a fine metalpoint drawing: 'thin silvery-gray lines,' 'delicate cross-hatching,' 'faint tarnished brown tones,' and 'chalky primed paper ground.' Emphasize precision and restraint — 'sparse, economical linework,' 'no shading, only hatched lines,' 'luminous pale surface' — rather than the bold contrast of charcoal or ink. Mention the tinted ground explicitly, like 'pale pink or bone-colored paper,' and keep the palette narrow: silver-gray, warm sepia, and cream. Avoid words like 'painterly' or 'bold' — the whole point of the look is quiet, controlled, antique precision.
Frequently asked questions
What is silverpoint drawing?
Silverpoint is a drawing technique using a thin silver wire stylus on specially primed, chalky paper, producing a faint gray line that slowly tarnishes to warm brown over time. It predates graphite pencils and offers no way to erase.
Why can't you erase silverpoint?
The prepared ground catches only a thin trace of metal, and there's no way to lift it back off without damaging the ground itself. This is why silverpoint demands careful planning before every mark.
Does silverpoint always turn brown?
Most silverpoint darkens toward warm brown or gray-brown as the silver slowly tarnishes, though the exact rate and color depend on the ground and environment. Gold or copper styluses tarnish differently and more slowly.
Can beginners try silverpoint?
Yes, with a simple homemade ground and an ordinary silver wire or jewelry finding as a stylus. It takes practice to control line weight without pressure, but the barrier to entry is mostly patience, not equipment.