 Art
Art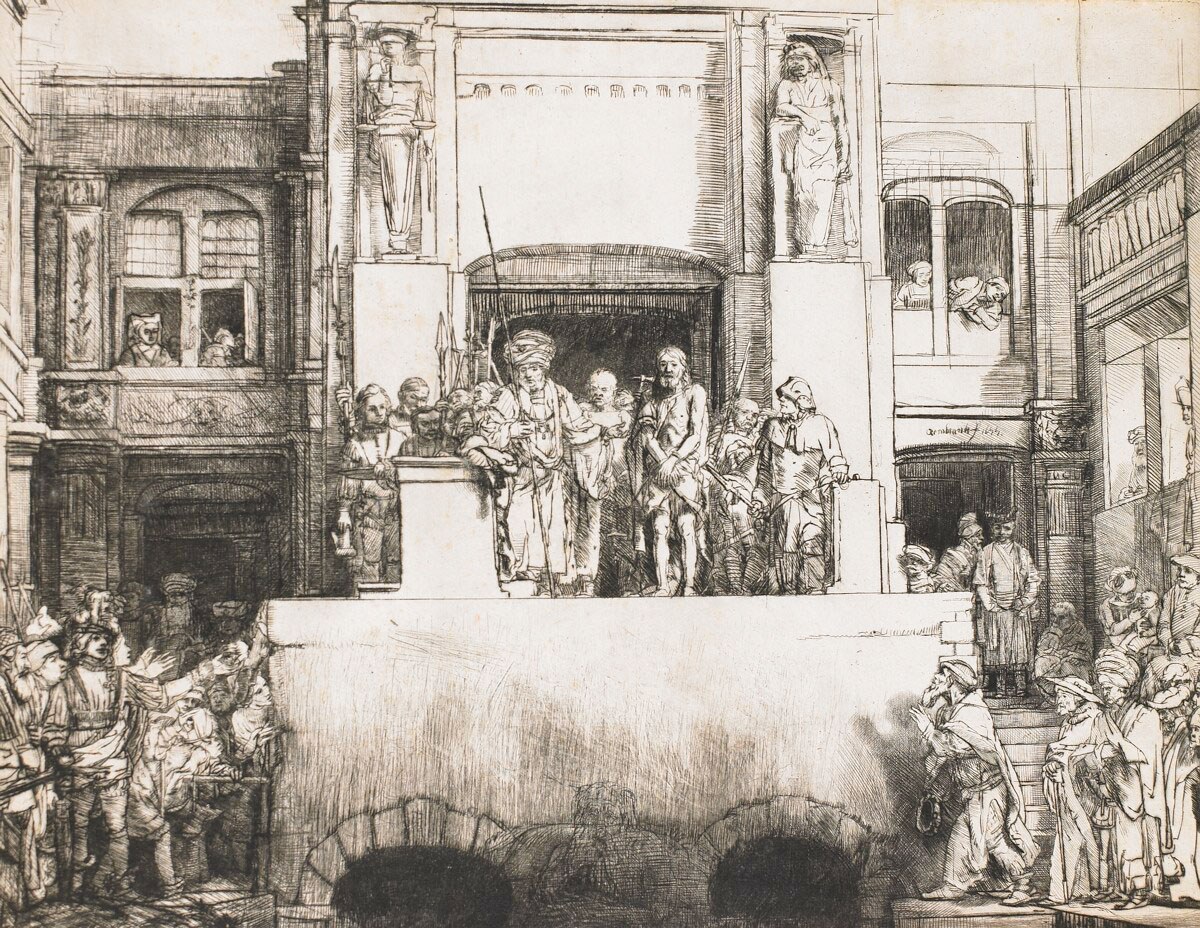
Drypoint is a printmaking technique in which an artist scratches lines into a metal or plastic plate with a sharp needle, without using acid or a specialized cutting tool like a burin. The needle displaces a curl of metal called a burr along the edge of each line, and that burr—left in place rather than scraped away—catches extra ink and prints as a soft, velvety, slightly blurred edge unlike any other printmaking line. Artists reach for drypoint when they want the immediacy of drawing: because the needle moves as easily as a pencil, drypoint captures loose, gestural, sketch-like marks that engraving's more resistant burin cannot. The tradeoff is fragility—the delicate burr flattens under repeated press pressure, so drypoint editions are small, and the richest, most velvety impressions come from the first few pulls before the burr wears down.
How to spot it
- 01Soft, fuzzy, almost furry edges along each line instead of a crisp hard edge
- 02Rich, velvety dark passages where the burr held extra ink
- 03Loose, sketch-like, spontaneous line quality, closer to pencil drawing than engraving
- 04Noticeably fading richness across an edition as early impressions look darker than later ones
- 05Fine feathered halos around lines visible under close inspection
The Drypoint workshop card
an afternoon to learn, years to refineMaterials
- copper, zinc, or acrylic plate
- sharp steel or diamond-tipped needle
- scraper and burnisher for corrections
- oil-based intaglio ink
- tarlatan cloth for wiping
- dampened printmaking paper
- hand-cranked intaglio press
Steps
- 1
Choose a soft plate
Pick copper, zinc, or clear acrylic; softer metals raise a bigger, fuller burr and print richer, more velvety lines than harder plates such as steel.
- 2
Draw with the needle
Hold the needle like a pencil and drag it across the plate at a consistent angle, letting the point raise a burr along one side of each line.
- 3
Vary pressure for tone
Push harder for thicker burr and darker printed lines, lighter for delicate, silvery marks; drypoint's whole tonal range comes from touch alone, unlike etching's timed acid baths.
- 4
Protect the burr
Handle the plate carefully once scratched, since the burr is fragile and flattens easily if rubbed, wiped roughly, or stacked carelessly against another plate or surface.
- 5
Ink gently
Work ink into the fine scratched lines and wipe with a soft touch, since aggressive wiping can crush the delicate burr you worked hard to raise.
- 6
Print early impressions first
Pull the richest, darkest proofs first, since the burr degrades steadily with each pass through the heavy press, and later pulls always look noticeably thinner.
- 7
Limit the edition
Plan for a small run from the very start—drypoint plates rarely survive more than a few dozen strong pulls before the burr wears completely away.
Classic mistakes
Scraping instead of scratching
Pressing too hard like a burin cut removes the very burr that gives drypoint its signature soft line; a lighter touch preserves it.
Rough wiping
Wiping the plate too aggressively flattens the fragile burr and makes even early impressions look as thin and weak as late ones.
Expecting a long edition
Treating drypoint like engraving and printing dozens of impressions ignores how quickly the delicate burr wears down under repeated press pressure.
Uneven needle pressure
Inconsistent hand pressure on the needle produces patchy, uneven tone instead of the smooth burr buildup needed for rich, velvety darks.
Where it comes from
Drypoint appeared alongside engraving in fifteenth-century Northern Europe, valued for its speed and its closeness to drawing. Rembrandt van Rijn made the technique famous in the seventeenth century, often combining drypoint with etching to add velvety dark accents—rich shadows, fur, and hair—to otherwise etched compositions. Because the burr wears down quickly under the press, only the earliest impressions from a drypoint plate retain its full richness, which made connoisseurs prize first-state pulls above later ones. The technique fell out of commercial use once more durable processes took over reproduction, but twentieth-century printmakers revived pure drypoint for its expressive, painterly line quality, and it remains popular today for its lower barrier to entry compared with engraving or etching.
See it done perfectly
| Work | Maker | Date | What to look at |
|---|---|---|---|
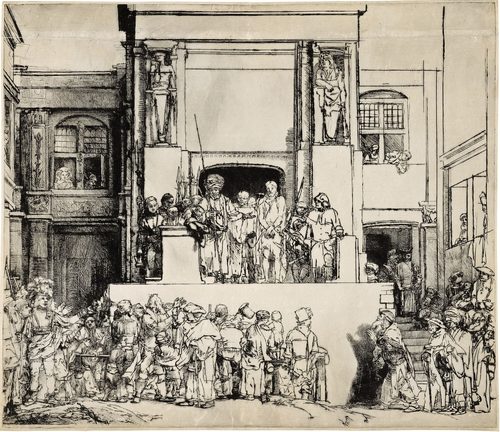
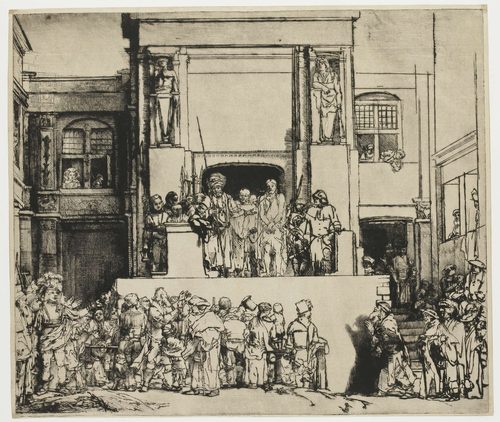
| The Three Crosses | Rembrandt van Rijn | 1653 | Dense drypoint burr piles into near-black shadow around a dramatic crucifixion scene, one of Rembrandt's most striking prints. |
| The Letter | Mary Cassatt | 1890–91 | Combines drypoint's soft line with color aquatint in a Japanese-influenced domestic scene. |
| Minotauromachy | Pablo Picasso | 1935 | One of Picasso's largest prints, combining drypoint with etching and engraving in a dense, dark composition. |
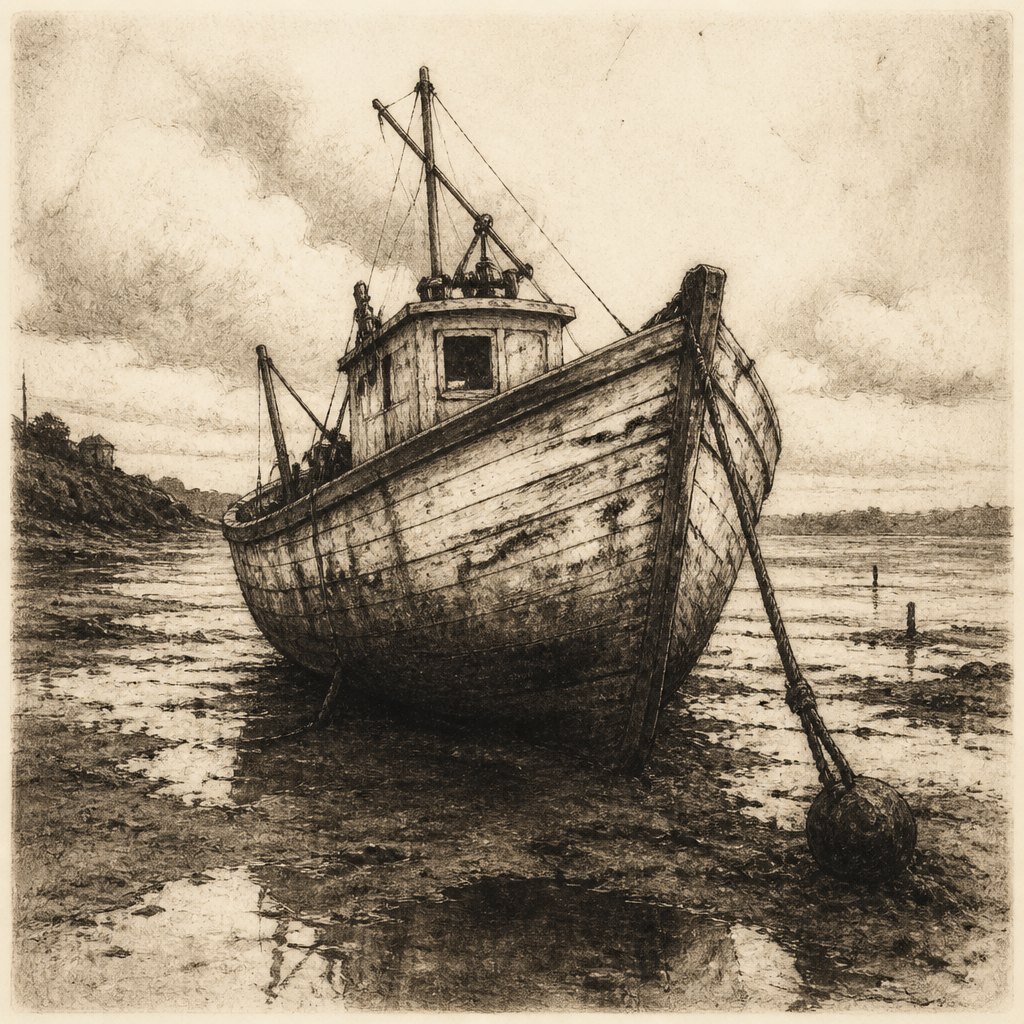 AI-generated
Try it with AI
Get the Drypoint look in a generator
To evoke drypoint in an AI prompt, emphasize soft, feathered edges rather than crisp lines: try 'velvety scratched linework,' 'soft burr-edged strokes,' or 'feathered, slightly blurred ink lines.' Ask for a loose, sketch-like, spontaneous quality rather than tight precision—drypoint reads closer to expressive drawing than engraving. Words like 'rich dark burr,' 'plush shadow,' and 'hand-scratched texture' help. Suggesting uneven ink density, with some lines fading and others pooling dark, reinforces the handmade print feel. Avoid smooth gradients or perfectly clean vector-like lines, since those read as digital rather than pressed.
Frequently asked questions
What is drypoint?
Drypoint is a printmaking technique where an artist scratches lines into a plate with a sharp needle, raising a soft metal burr that holds extra ink and prints as a velvety, feathered line.
How is drypoint different from etching?
Drypoint scratches lines directly with a needle and keeps the raised burr for a soft edge; etching uses acid to bite lines through a wax resist, producing cleaner, more uniform lines.
Why are drypoint editions so small?
The delicate burr that gives drypoint its signature look flattens under repeated press pressure, so only the first several impressions keep the full rich, velvety quality.
Can I try drypoint at home?
Yes—clear acrylic sheet and a sharp needle or etching tool make an accessible, acid-free way to try drypoint without a full printmaking studio.