 Art
Art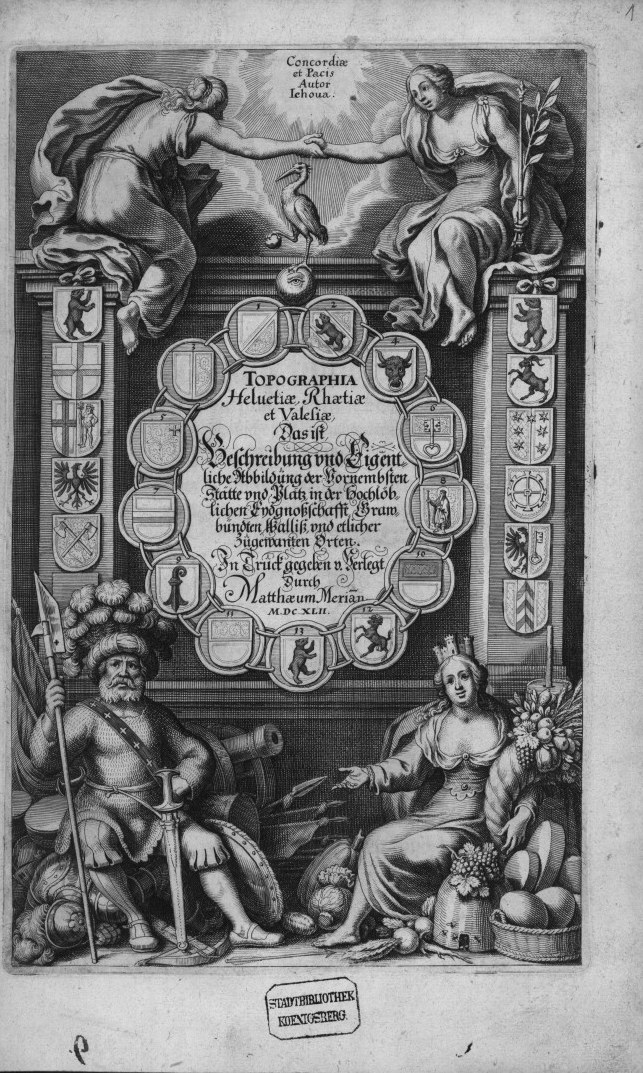
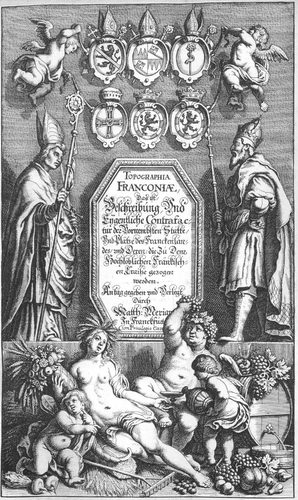
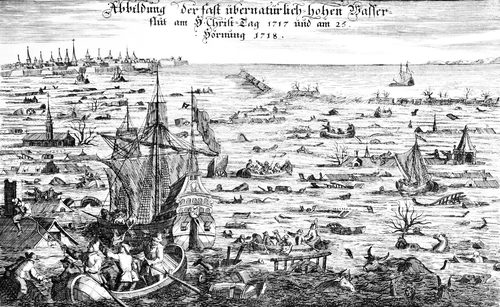
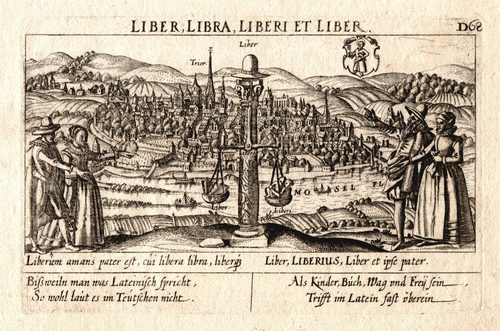
Engraving is a printmaking technique in which an artist cuts lines directly into a polished metal plate—usually copper—using a sharp steel tool called a burin, then inks and wipes the plate so ink lodges only in the incised grooves before printing under heavy press pressure. Unlike etching, which relies on acid to bite the lines chemically, engraving is purely mechanical: every mark is a physical furrow cut by hand, which gives the medium its hallmark crispness and its characteristic swelling and tapering strokes. Artists reach for engraving when they want maximum linear control—crosshatching to build shadow, parallel lines to model form, and a silvery, metallic sharpness no other print medium quite matches. It demands real manual discipline, since a wrong cut in the plate cannot be erased, only worked around or burnished down. That discipline is part of the appeal: an engraved line looks deliberate because it was cut, stroke by stroke, with total intention.
How to spot it
- 01Lines with tapered, swelling ends—thin where the burin entered, thick at full push, thin at lift-off
- 02Crosshatched webs of straight lines building shadow instead of smudgy tone
- 03A silvery, almost metallic sharpness to every line—nothing soft or bled
- 04No plate tone or ragged edges; paper often shows a faint embossed platemark
- 05Curved lines that look mechanically perfect, guided by a steady hand and eye alone
The Engraving workshop card
months to learn control, years to masterMaterials
- polished copper or steel plate
- steel burin (graver) in several profiles
- scraper and burnisher for corrections
- oil-based intaglio ink
- tarlatan cloth for wiping the plate
- dampened printmaking paper
- hand-cranked intaglio press
- leather ink dabber or roller
Steps
- 1
Polish the plate
Buff the copper or steel plate to a mirror finish with fine abrasive and polish compound—any scratch will hold ink and print as an unwanted line, so start from a flawless surface.
- 2
Transfer the design
Lightly trace or scribe the composition onto the plate as a guide, keeping marks faint since the burin work will replace them entirely once cutting begins.
- 3
Cut with the burin
Push the burin through the metal at a low angle, letting the tool's own geometry create the tapered line; turn the plate into the blade for curves rather than forcing the tool.
- 4
Clear the burr
Scrape away the curl of displaced metal thrown up along each cut so it doesn't catch ink or tear the paper during printing; a flat scraper removes it cleanly.
- 5
Build tone with crosshatching
Layer parallel and crossing line families at different angles and spacings to model shadow and volume, since engraving has no wash or shading tool beyond the line itself.
- 6
Ink and wipe the plate
Work stiff ink into every groove, then wipe the surface clean with tarlatan and a final palm pass, leaving ink only in the incised lines.
- 7
Print under pressure
Run the plate and dampened paper through an intaglio press under heavy, even pressure so the paper is forced into the grooves and picks up the ink.
- 8
Pull and inspect
Peel the paper back slowly and check line quality and platemark; note any weak passages to deepen with the burin before pulling the next impression.
Classic mistakes
Forcing the burin
Pushing too hard makes the tool skate or dig unevenly; let the burin's angle and a light, steady push do the cutting.
Skipping burr removal
Leftover metal burr traps extra ink and prints as a fuzzy, uncontrolled line instead of a clean, deliberate engraved mark.
Overinking the plate
Too much ink left on the surface muddies the crisp contrast that makes engraving distinctive; wipe the plate firmly and evenly.
Uneven press pressure
Inconsistent pressure across the plate prints some lines strong and others faint, breaking the tonal balance carefully built through crosshatching.
Where it comes from
Engraving grew out of goldsmiths' metalwork in fifteenth-century Germany and Italy, where craftsmen decorating armor and plate silver began printing their incised designs onto paper. Martin Schongauer and, later, Albrecht Dürer pushed the technique into a true art form, using dense crosshatching to model light and shadow with a precision drawing could not match. Engraving became the dominant reproductive medium for centuries—translating paintings into affordable prints long before photography—and reached its technical peak in the eighteenth and nineteenth centuries with professional reproductive engravers working from Old Master paintings. As photomechanical reproduction arrived in the late 1800s, engraving's commercial role faded, but the technique survived as a fine-art and illustrative practice, prized precisely for the hand-cut precision that machines cannot fake.
See it done perfectly
| Work | Maker | Date | What to look at |
|---|---|---|---|
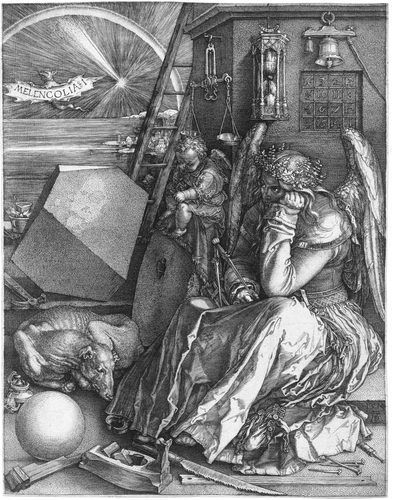
| Melencolia I | Albrecht Dürer | 1514 | Dense crosshatching builds a moody, symbol-laden interior scene entirely from engraved line. |
| Knight, Death, and the Devil | Albrecht Dürer | 1513 | Astonishingly fine linework distinguishes armor, fur, and flesh through pure engraving technique. |
| The Temptation of Saint Anthony | Martin Schongauer | c. 1470–75 | One of the earliest engravings to show the medium's capacity for fantastical, densely worked detail. |
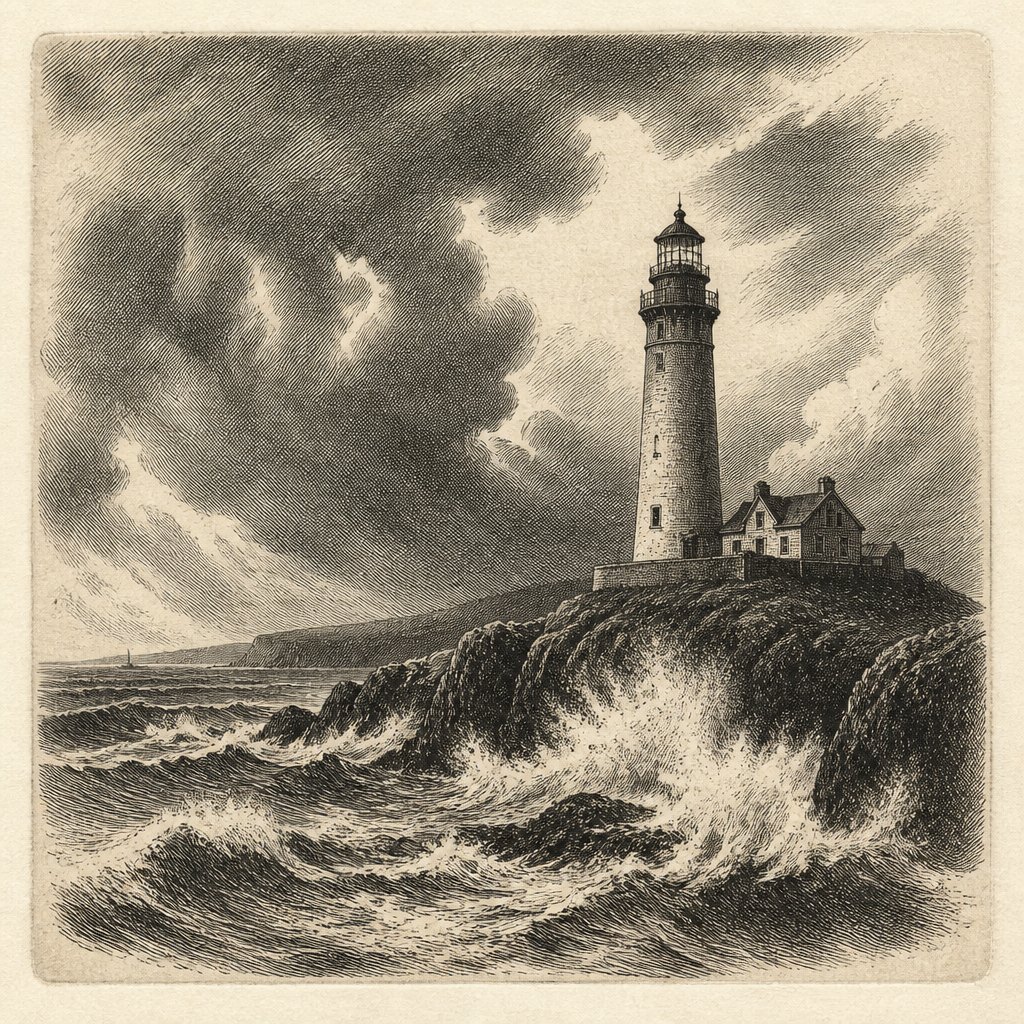 AI-generated
Try it with AI
Get the Engraving look in a generator
To suggest engraving in an AI image prompt, describe the linework, not a painting style: request 'fine hand-engraved crosshatched lines,' 'tapering incised strokes,' or 'dense parallel hatching building shadow.' Ask for a monochrome or limited-palette look—black ink on cream or ivory paper reads as an intaglio print. Words like 'crisp,' 'linear,' 'metallic sharpness,' and 'burin-cut precision' push the model away from painterly softness. Mentioning a 'platemark border' or 'antique print texture' reinforces the printed-page feel. Avoid words implying brushwork, wash, or gradients, since engraving has no soft transitions—only line density creates tone.
Frequently asked questions
What is engraving?
Engraving is a printmaking technique where an artist cuts lines directly into a metal plate with a hand-held steel burin, then inks and prints the plate so ink held in the grooves transfers to paper under heavy press pressure.
How is engraving different from etching?
Engraving cuts lines mechanically with a burin; etching uses acid to bite lines chemically through a wax resist. Engraved lines taper and swell from hand pressure, while etched lines stay more uniform in width.
Can beginners try engraving?
Yes, with practice—soft metal plates like copper and a basic burin set are accessible, though the hand skill for clean, controlled lines takes real time to develop.
Do modern artists still engrave?
Yes. Fine-art printmakers and illustrators still hand-engrave for its unmatched line quality, even though photomechanical processes replaced its old commercial reproduction role generations ago.