 Art
Art
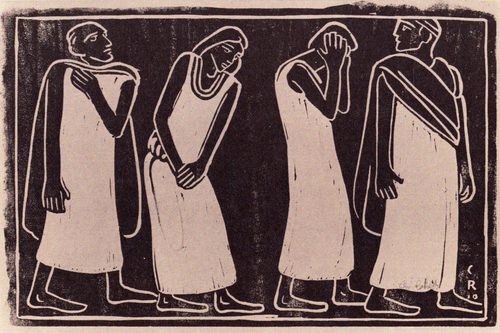
Linocut is a relief printmaking technique that carves a design into a sheet of linoleum rather than wood, working on the same basic principle as woodcut: cut away the areas meant to stay blank, ink the raised surface that remains, and press paper against it to transfer the design. Linoleum has no grain to fight, so it cuts smoothly in any direction with far less resistance than wood, which makes it a popular entry point into relief printmaking and lets artists carve fluid curves and fine detail that grain-driven wood can resist. The material's softness is also its limit: a linoleum block wears down faster than wood under heavy printing runs, and its uniform surface lacks the visible grain texture that gives woodcut part of its character. Artists print linocuts in single flat colors or build up full-color images from multiple carved blocks in registration, and the technique's directness and low cost have made it a mainstay of art education and independent printmaking alike.
How to spot it
- 01Bold, flat shapes with clean, grain-free edges
- 02Smooth carved curves that would resist a wood grain
- 03Slightly soft, rounded edge quality compared to woodcut's crispness
- 04Flat, unmodulated color rather than smooth gradients
- 05Small nicks or gouge marks visible within larger carved areas
The Linocut workshop card
an afternoon for a simple printMaterials
- Sheet linoleum, mounted or unmounted
- Linocutting gouges and knives in varied profiles
- Bench hook or non-slip mat to hold the block
- Relief printing ink, oil- or water-based
- Brayer for rolling ink onto the block
- Baren, spoon, or press for printing
- Printmaking or drawing paper
Steps
- 1
Design and reverse the image
Draw the composition on paper first, then transfer it to the linoleum flipped, since anything asymmetrical or containing text will print mirror-reversed if carved as originally drawn.
- 2
Warm the linoleum if stiff
Gently warm cold or stiff linoleum before cutting, since warmth softens it and makes gouges glide instead of skipping or catching, especially in cooler studio conditions.
- 3
Carve the negative space
Cut away everything meant to stay unprinted, using shallow, controlled strokes and keeping fingers behind the blade at all times, since linoleum's soft give makes tools slip more easily than wood does.
- 4
Refine detail with a fine gouge
Switch to a narrow V-gouge for crisp linework and texture once the broad shapes are cleared, taking advantage of linoleum's grain-free surface for smooth, fluid lines in any direction.
- 5
Proof the block
Pull a test print once major carving is done to check values and composition before adding final detail, since carved lines cannot be put back once removed.
- 6
Ink and print
Roll a thin, even layer of ink across the raised surface, lay paper on top, and burnish evenly with a baren or spoon, or run it through a press for more consistent pressure.
- 7
Consider the reduction method for color
To print multiple colors from one block, carve and print the lightest color first, then carve away more and print the next color over it, repeating in careful registration.
Classic mistakes
Cutting toward the supporting hand
Linoleum's soft resistance means a gouge can suddenly skip forward, so always cut with the tool angled away from fingers holding the block, using a bench hook whenever possible.
Skipping the mirror reversal
Carving text or an asymmetrical design exactly as drawn prints it backward. Transfer the design reversed, or check it in a mirror before committing to cutting.
Cutting too deep too fast
Aggressive, deep gouging in stiff linoleum tears rather than cuts cleanly. Warm the block, use shallow controlled passes, and let the tool do the work rather than forcing it.
Overinking the block
Too much ink on the brayer fills fine carved lines and prints as unwanted texture. Roll to a thin, even, slightly tacky layer, checking a scrap proof before the final pull.
Where it comes from
Linoleum was originally a flooring material, and printmakers began carving it in the early twentieth century once they recognized how easily its soft, grain-free surface could be cut compared to wood. German Expressionist and other early modernist printmakers adopted it for its directness and low cost, and Pablo Picasso later became closely associated with the medium through ambitious multi-color linocuts made using a reduction method, where a single block is progressively carved and reprinted for each successive color. Because linoleum is cheap, forgiving, and requires no specialized press to print by hand, the technique became a staple of school art programs and community printmaking studios through the mid-twentieth century and remains one of the most accessible entry points into relief printing today.
See it done perfectly
| Work | Maker | Date | What to look at |
|---|---|---|---|
| Reduction-method color linocuts | Pablo Picasso | 1950s | Multi-color prints built by progressively carving and reprinting a single reduction block. |
| Speedway | Sybil Andrews | 1934 | Bold, rhythmic linocut of motorcycle racers built from repeated curved color shapes suggesting motion. |
| Grosvenor School linocuts | Unknown | 1920s–1930s | British printmakers pioneered dynamic, brightly colored linocuts capturing modern movement and machinery. |
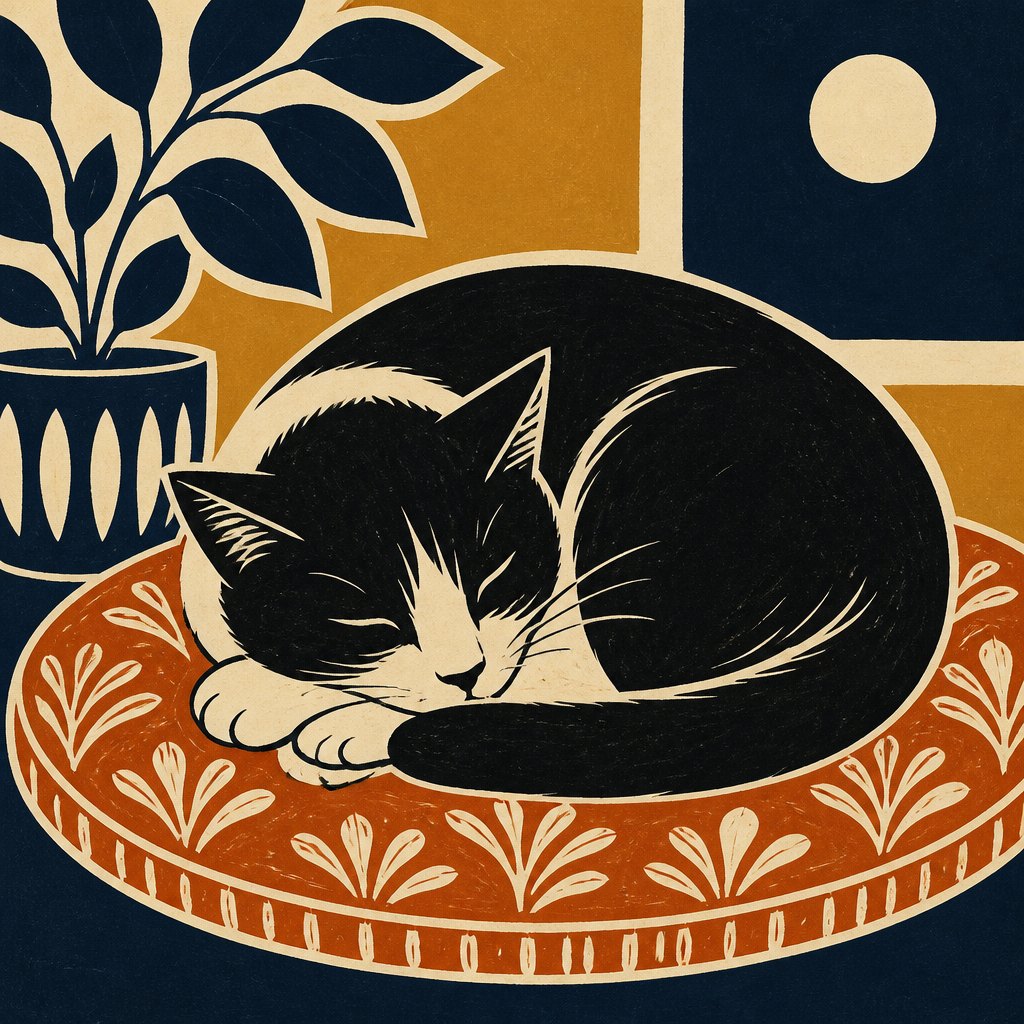 AI-generated
Try it with AI
Get the Linocut look in a generator
To suggest this technique, describe bold flat shapes with clean, grain-free carved edges and smooth curving lines rather than wood's rough grain texture. Useful vocabulary: relief print, flat unmodulated color, clean carved edges, bold graphic shapes, smooth gouge lines, hand-printed texture, limited color layers, confident linework. Since linocut lacks visible wood grain, keep the texture description to clean, soft-edged carving marks rather than the splintered look associated with woodcut, and favor simplified, graphic compositions over fine photographic detail.
Frequently asked questions
What is a linocut?
A linocut is a relief print carved into sheet linoleum, where the artist cuts away every area meant to stay blank, then inks and prints from the raised, uncarved surface.
What is the difference between a linocut and a woodcut?
Both are relief prints carved and inked the same way, but linoleum has no grain, cutting smoothly in any direction, while wood's grain resists cutting and adds visible texture to the print.
Do you need a printing press for linocuts?
No. Linocuts can be printed by hand with a baren or the back of a spoon, though a press gives more even pressure and more consistent results across larger editions.
Is linocut a good technique for beginners?
Yes. Linoleum's soft, grain-free surface is easier to control than wood, and the tools and materials are inexpensive, making it one of the most accessible starting points in printmaking.