 Art
Art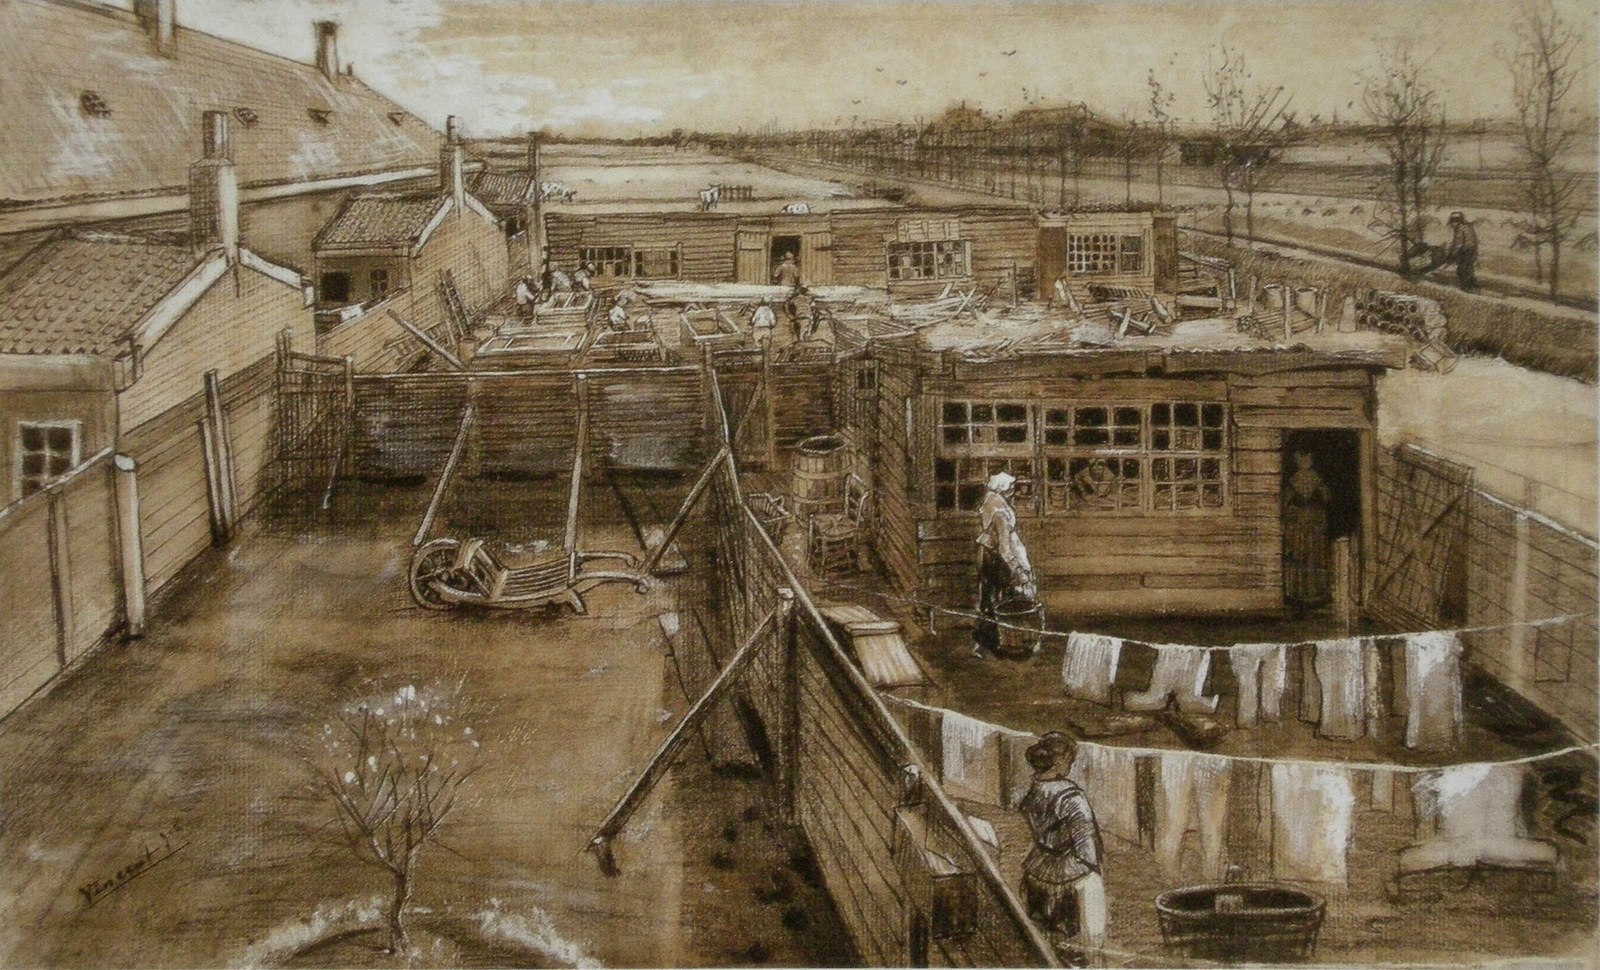
Dry brush is a technique in which paint is applied with a brush that carries very little water or medium, so the pigment catches only the raised texture of the paper or canvas and skips the low points. Instead of a smooth, continuous stroke, the mark comes out broken, scratchy, and full of tiny gaps where the surface shows through — closer to the texture of a pencil hatching than a typical wet stroke.
Painters use dry brush for fur, grass, weathered wood, stone, and other rough or fibrous textures, since the broken marks naturally mimic those surfaces. It's a controlled, additive technique — each pass builds a little more density without flooding the surface with wet paint — which makes it useful for adding crisp detail and texture late in a painting, after softer washes or blocks of color are already down.
How to spot it
- 01Scratchy, broken strokes with visible gaps of the surface showing through.
- 02Fine, hair-like or grass-like texture built from many small strokes.
- 03A matte, slightly rough surface quality instead of smooth, wet coverage.
- 04Crisp, textured detail layered over a smoother, already-painted background.
- 05Visible paper or canvas tooth catching only the ridges of the stroke.
The Dry Brush workshop card
Quick to try, a while to controlMaterials
- stiff-bristled brush, slightly worn or splayed
- paper towel for blotting excess moisture from the brush
- textured watercolor paper or canvas with visible tooth
- concentrated, minimally diluted paint or ink
- a test scrap to check the brush's dryness before committing
- fine round or flat brush for detail passes
Steps
- 1
Load the brush lightly
Dip the brush in paint, then blot most of it off on a paper towel or scrap until only a thin film remains on the bristles.
- 2
Splay the bristles
Fan the bristles out slightly, either with your fingers or by pressing the brush flat against a palette, so the stroke breaks into multiple fine lines instead of one solid mark.
- 3
Use a light, fast touch
Drag the brush across the surface quickly and with minimal pressure, letting it skip over the low points of the texture rather than pressing paint into every crevice.
- 4
Follow the texture's direction
For fur, grass, or wood grain, stroke in the direction the real texture would grow or run — this sells the illusion far more than the dryness alone.
- 5
Build up in thin layers
Add density with several light passes rather than one heavy one, checking the growing effect between each pass so you don't accidentally oversaturate the delicate texture.
- 6
Reload often, in small amounts
Redip and reblot frequently rather than trying to stretch one loading of paint across a large area — the dryness fades fast as you stroke.
- 7
Use it as a finishing pass
Apply dry brush over an already-established wash or block of color, not as a base layer, so the broken texture sits on top of solid values.
Classic mistakes
Brush too wet
Skipping the blotting step leaves too much paint on the brush, which fills in the gaps and produces a normal stroke instead of a broken, textured one.
Pressing too hard
Heavy pressure forces bristles into the low points of the surface, erasing the gaps that give dry brush its texture. Keep the touch light.
Using it as a base layer
Dry brush over bare, unpainted paper or canvas looks thin and scratchy rather than textured. It reads best layered over an existing wash or color block.
Ignoring stroke direction
Random, directionless strokes read as noise rather than a convincing texture. Follow the grain, growth, or flow of whatever surface you're depicting.
Where it comes from
Dry brush has long been used across both watercolor and oil traditions as a detail and texture technique, especially for rendering hair, fur, foliage, and weathered surfaces where a crisp, broken mark reads more convincingly than a smooth one. It became particularly associated with 20th-century American realist painting, where artists used it over watercolor washes to add tight, controlled detail without losing the looseness of the wash underneath. The technique also has roots in printmaking and drawing, where dry, scratchy marks have always been used to suggest texture economically. Today it's taught as a finishing technique, typically applied after broader washes or blocks of color establish the composition.
See it done perfectly
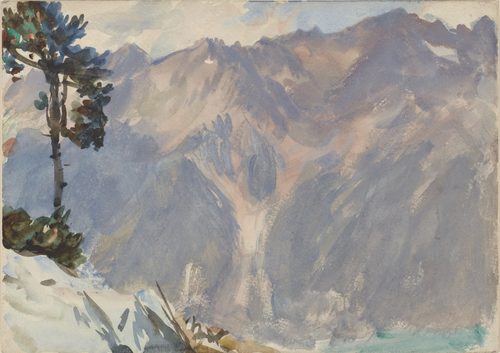
| Work | Maker | Date | What to look at |
|---|---|---|---|
| Rural Pennsylvania and Maine watercolors | Andrew Wyeth | 1950s–1970s | Tight, scratchy dry-brush strokes render weathered wood, grass, and fabric with photographic texture. |
| Birds of America bird studies | John James Audubon | 1827–1838 | Dry-brush strokes over watercolor render feather texture and directional plumage in fine detail. |
| Late Maine coast watercolors | Winslow Homer | 1890s | Scratchy dry-brush strokes render rock texture and spray amid broader wet washes of sea and sky. |
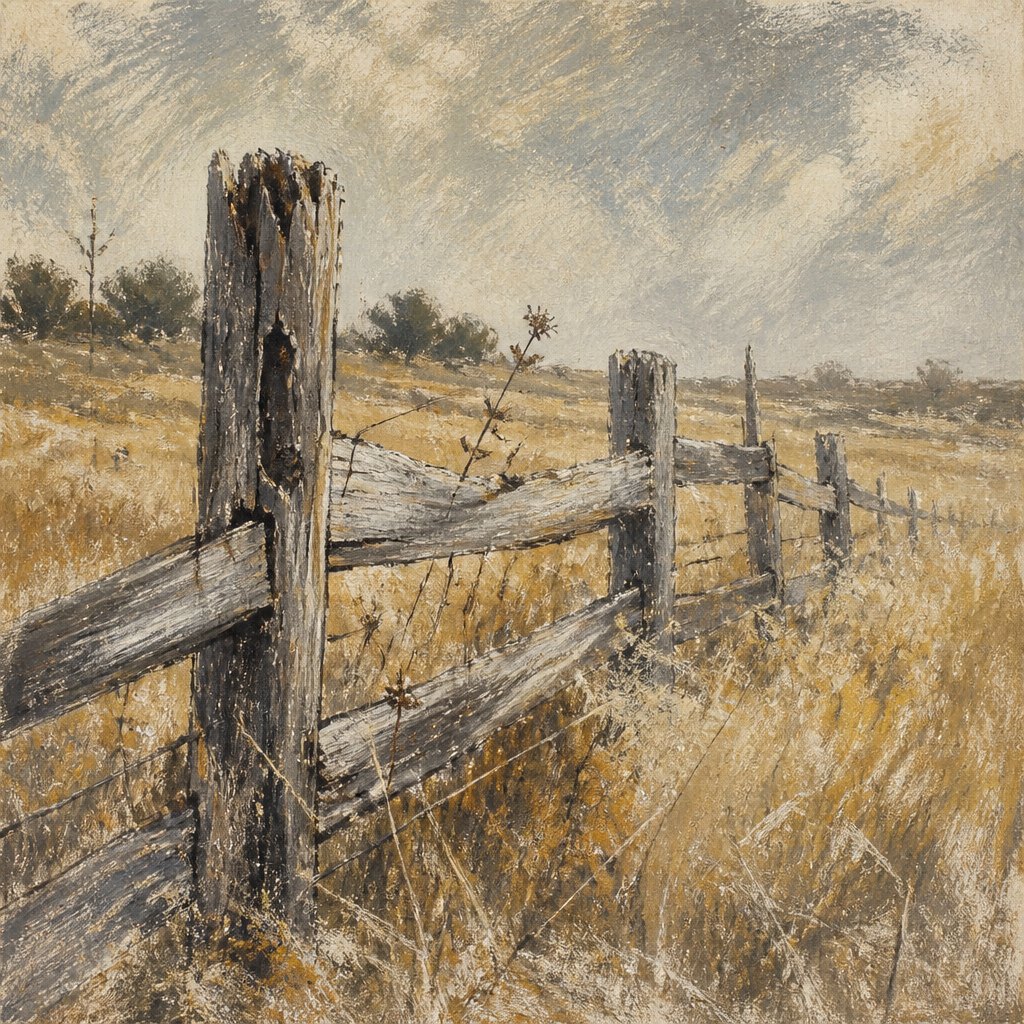 AI-generated
Try it with AI
Get the Dry Brush look in a generator
To call up dry brush in an AI image generator, use 'dry brush technique,' 'scratchy broken strokes,' 'hatched texture,' or 'bristle marks catching rough paper.' Add material words like 'fibrous,' 'weathered,' 'coarse texture,' or 'visible paper tooth' to reinforce the broken, matte quality. Describing fur, grass, or wood grain rendered in 'fine, directional scratchy strokes' pushes the model toward the crisp, textured look rather than smooth, fully blended paint or ink.
Frequently asked questions
What is dry brush painting?
Dry brush is a technique where a brush loaded with very little paint or water is dragged across a textured surface, catching only the raised tooth and leaving broken, scratchy marks instead of a smooth stroke.
What is dry brush used for?
It's especially good for fur, hair, grass, weathered wood, and stone — any texture with a broken, fibrous, or rough quality that a smooth wet stroke can't convincingly suggest.
Does dry brush work with acrylics or oils?
Yes. Any paint can be dry-brushed as long as most of the moisture or medium is removed from the brush first — acrylics and oils both work, alongside watercolor and ink.
Why isn't my dry brush effect showing up?
The brush is usually still carrying too much paint. Blot it more thoroughly on a paper towel before touching the surface, and use a textured paper or canvas so there's tooth for the bristles to catch.