 Art
Art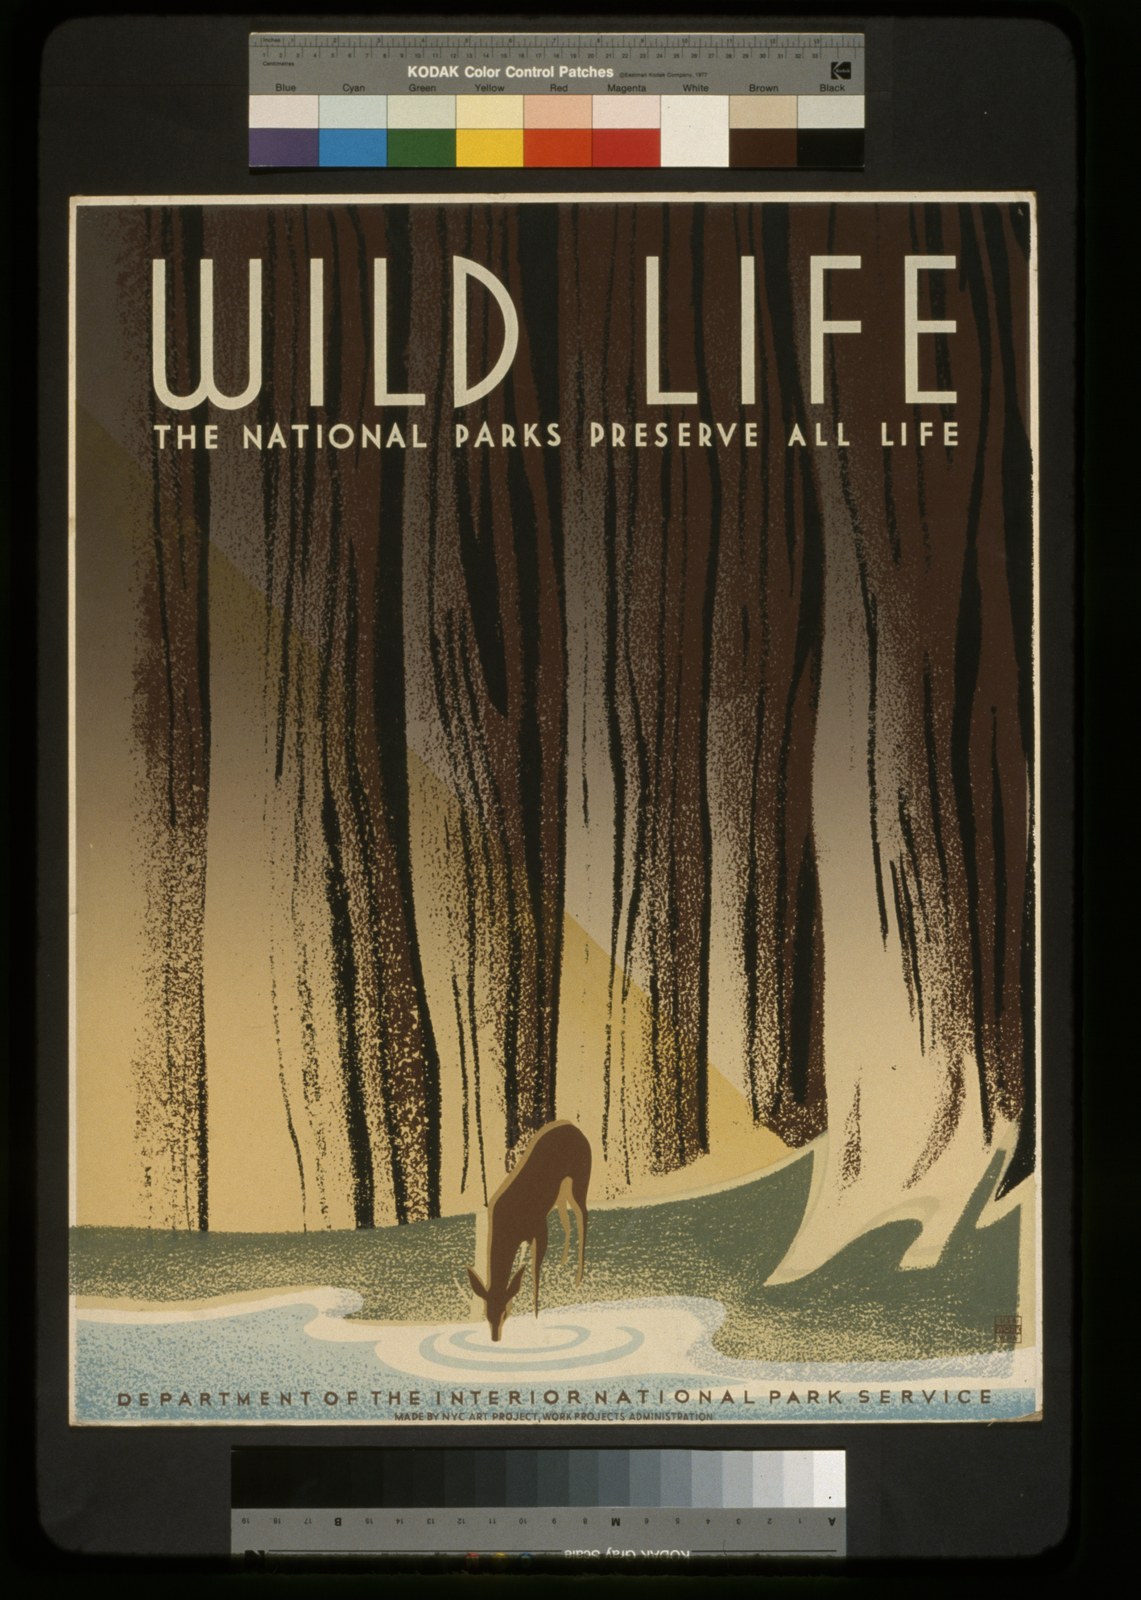
Screen printing is a stencil-based printmaking technique in which ink is pushed through a fine mesh screen with a squeegee, passing only through the open areas of a stencil blocked out on the fabric. Each color requires its own screen and its own pass, so a multicolor screen print is built layer by layer, one flat, opaque color at a time, with the screen realigned in registration for each pass. Because the ink sits directly on the surface rather than soaking in or being pressed into paper, screen printing produces exceptionally flat, saturated, poster-like color and works on an unusually wide range of materials, from paper and canvas to fabric, wood, and glass. Artists reach for screen printing when they want bold, graphic color blocks, sharp-edged shapes, and a hand-printed feel that photomechanical printing can't easily fake, which is part of why it became a favorite for both fine-art editions and commercial graphics.
How to spot it
- 01Flat, opaque, poster-like blocks of solid color with sharp edges
- 02Slight halo or registration mismatch where color layers meet imperfectly
- 03A raised, slightly tactile feel where thick ink sits on the surface
- 04Bold, graphic simplicity, often reduced to a handful of distinct color layers
- 05Visible mesh texture at the very edges of printed shapes under close look
The Screen Printing workshop card
a weekend to start, years to masterMaterials
- fine mesh screen stretched on a frame
- photo-emulsion or hand-cut stencil film
- squeegee
- plastisol or water-based screen ink
- registration jig or tabs
- masking tape for blocking screen edges
- exposure unit or bright light source for photo stencils
- paper, fabric, or other print substrate
Steps
- 1
Prepare the stencil
Coat the screen with photo emulsion or apply a cut stencil, then expose or adhere it so ink can only pass through the open image areas.
- 2
Set up registration
Lock the screen and substrate into a fixed jig, or use registration tabs, so every single color layer lines up precisely with the one before.
- 3
Load the ink
Pour a generous bead of ink along one edge of the screen, enough to cover the whole image without wasting ink beyond the printing area.
- 4
Flood the screen
Drag the squeegee smoothly across at a low angle without pressure to coat the whole mesh evenly with ink before the actual print stroke begins.
- 5
Pull the print stroke
Draw the squeegee firmly across the whole screen at a steady angle and even pressure, forcing ink through the open mesh in one clean pass.
- 6
Lift and inspect
Raise the screen carefully and check the fresh print for even coverage, then set it aside to dry fully before printing the next color layer.
- 7
Register and repeat for each color
Clean the screen thoroughly, prepare the next stencil carefully, and align it precisely against the marked registration points before pulling the next color layer through.
- 8
Cure the ink
Heat-set or fully air-dry the finished print so the ink bonds durably to the surface; cure and wash screens in a well-ventilated space, since inks and screen washes give off fumes.
Classic mistakes
Poor registration
Misaligned screens between successive color layers cause visible gaps or awkward overlaps where the shapes should otherwise meet perfectly and cleanly.
Uneven squeegee pressure
Inconsistent squeegee pressure or angle across the pass leaves patchy, thin ink coverage instead of a flat, even, saturated color layer.
Ink drying in the screen
Leaving ink sitting on the mesh too long between pulls clogs the fine stencil and blocks all delicate detail entirely.
Overworking the print stroke
Multiple uneven squeegee passes instead of one clean stroke can smear edges and blur what should be a crisp shape.
Where it comes from
Screen printing grew out of stencil traditions used for centuries in Asia, but its modern form using fine silk mesh developed in the early twentieth century and quickly became a commercial printing method for signs, textiles, and packaging. Pop artists in the 1960s, most famously Andy Warhol, adopted screen printing—then still commonly called silkscreen—for its flat, repeatable, mechanical-looking color, using it to print multiples of everyday and celebrity imagery that echoed mass production itself. The fine-art world began calling the medium serigraphy to distinguish gallery editions from commercial work. Since then, screen printing has remained central to both poster art and textile printing, prized equally by fine artists, gig-poster designers, and clothing brands for its bold color and relatively low-cost, high-volume printing capability.
See it done perfectly
| Work | Maker | Date | What to look at |
|---|---|---|---|
| Marilyn Diptych | Andy Warhol | 1962 | Repeats a single screened portrait in shifting color, turning mechanical repetition itself into the subject. |
| Campbell's Soup I | Andy Warhol | 1968 | A portfolio of screenprints using flat color and repetition to echo mass-produced commercial packaging. |
| Serigraph poster work | Sister Corita Kent | 1960s–70s | Combined bold screen-printed color and text into socially engaged, pop-influenced poster art. |
 AI-generated
Try it with AI
Get the Screen Printing look in a generator
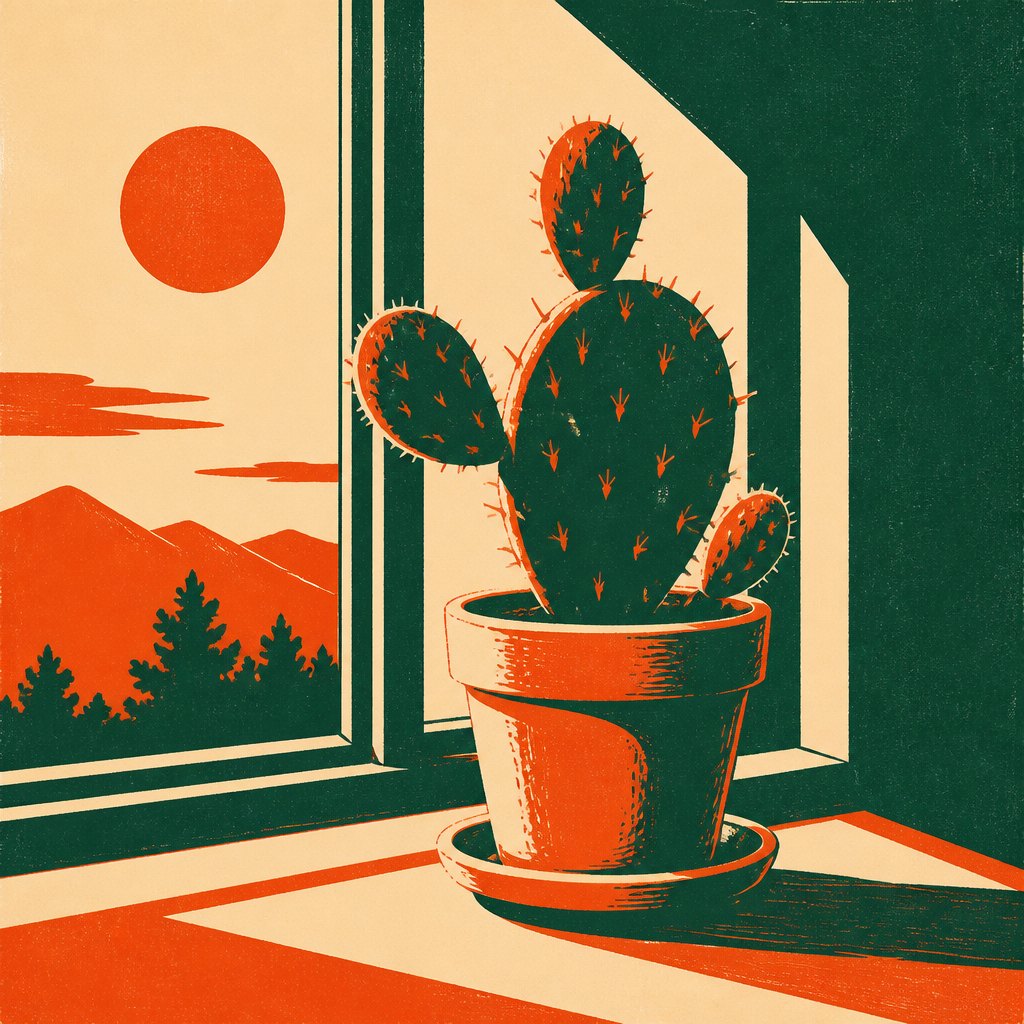
To suggest screen printing in an AI prompt, ask for flat, opaque, poster-like color blocks with crisp, clean edges rather than blended gradients. Try 'bold flat color layers,' 'graphic poster style,' or 'screen-printed halftone texture.' Mentioning a limited color palette—three or four distinct flat tones—reinforces the layered-screen look, since real screen prints build up color one pass at a time. Words like 'slightly raised ink,' 'saturated flat color,' and 'sharp stencil edges' help. Avoid soft painterly blending or continuous tonal gradients, since screen printing's whole character comes from flat, separated color.
Frequently asked questions
What is screen printing?
Screen printing pushes ink through a fine mesh stencil with a squeegee, printing one flat color at a time. Multiple screens, one per color, are layered together to build a complete image.
What's the difference between screen printing and silkscreen?
They're the same technique under different names; silkscreen refers to the original silk mesh, while modern screens are usually polyester. Serigraphy is the term used for fine-art editions.
Can screen printing be done on fabric?
Yes—screen printing works on paper, fabric, wood, glass, and more, which is why it's the standard method for printed T-shirts and textiles as well as fine-art posters.
Do I need special equipment to start?
A basic setup—screen, squeegee, and ink—is relatively affordable and beginner-friendly compared with intaglio or lithography, though registration for multicolor work takes practice.